
Allocation Environment Components
Summary
The Allocation Environment allows a CloudSocket Broker to select a BPaaS Design Package (previously created via the Design Environment) and create a BPaaS Bundle ready to be published in the Marketplace and deployed in the Execution Environment. The Allocation Environment uses the selected BPaaS Design Package as the basic key part of the BPaaS Bundle (Level III process) to be created, containing the Business Process Model (Level-I process), the Executable Workflow Model (Level-II process) and additional meta-data (such as domain-specific (business-level) KPI, ontological mappings, etc.).
In fact, the Allocation Environment provides a user interface to complete the definition of the BPaaS Bundle with all the additional information required to deploy and execute it.
A BPaaS Bundle binds an Executable Workflow Model with the concrete Atomic Services and Cloud Infrastructures that will be invoked and selected by the workflow, respectively, when executed. A BPaaS Bundle also contains rules to guide the BPaaS Execution Environment in choosing the Workflow Engine instance that will execute the workflow model.
In the creation of a BPaaS Bundle, the CloudSocket Broker is responsible for defining the overall pricing and SLA for the bundle as a whole, taking into account the price and the SLA of all the resources – e.g. workflow engine, atomic services and cloud infrastructures - configured in the bundle.
The BPaaS Bundle is a data structure containing all the information required by the Execution Environment (to deploy, execute, account, monitor and assess a BPaaS) and by the Marketplace (to allow the BPaaS Customer to effectively search the bundles of interest). Such information includes:
- Business process Model
- Workflow Model
- Workflow allocation
- Atomic Service allocation
- Software Component allocation
- KPI model
- Service Level Agreement (SLA)
- Pricing model
- Business Process Metadata
Architecture design
Installation manual
Development
Production
Test Cases
User Manual
API specification
Allocation Environment does not expose any API.
HandBook
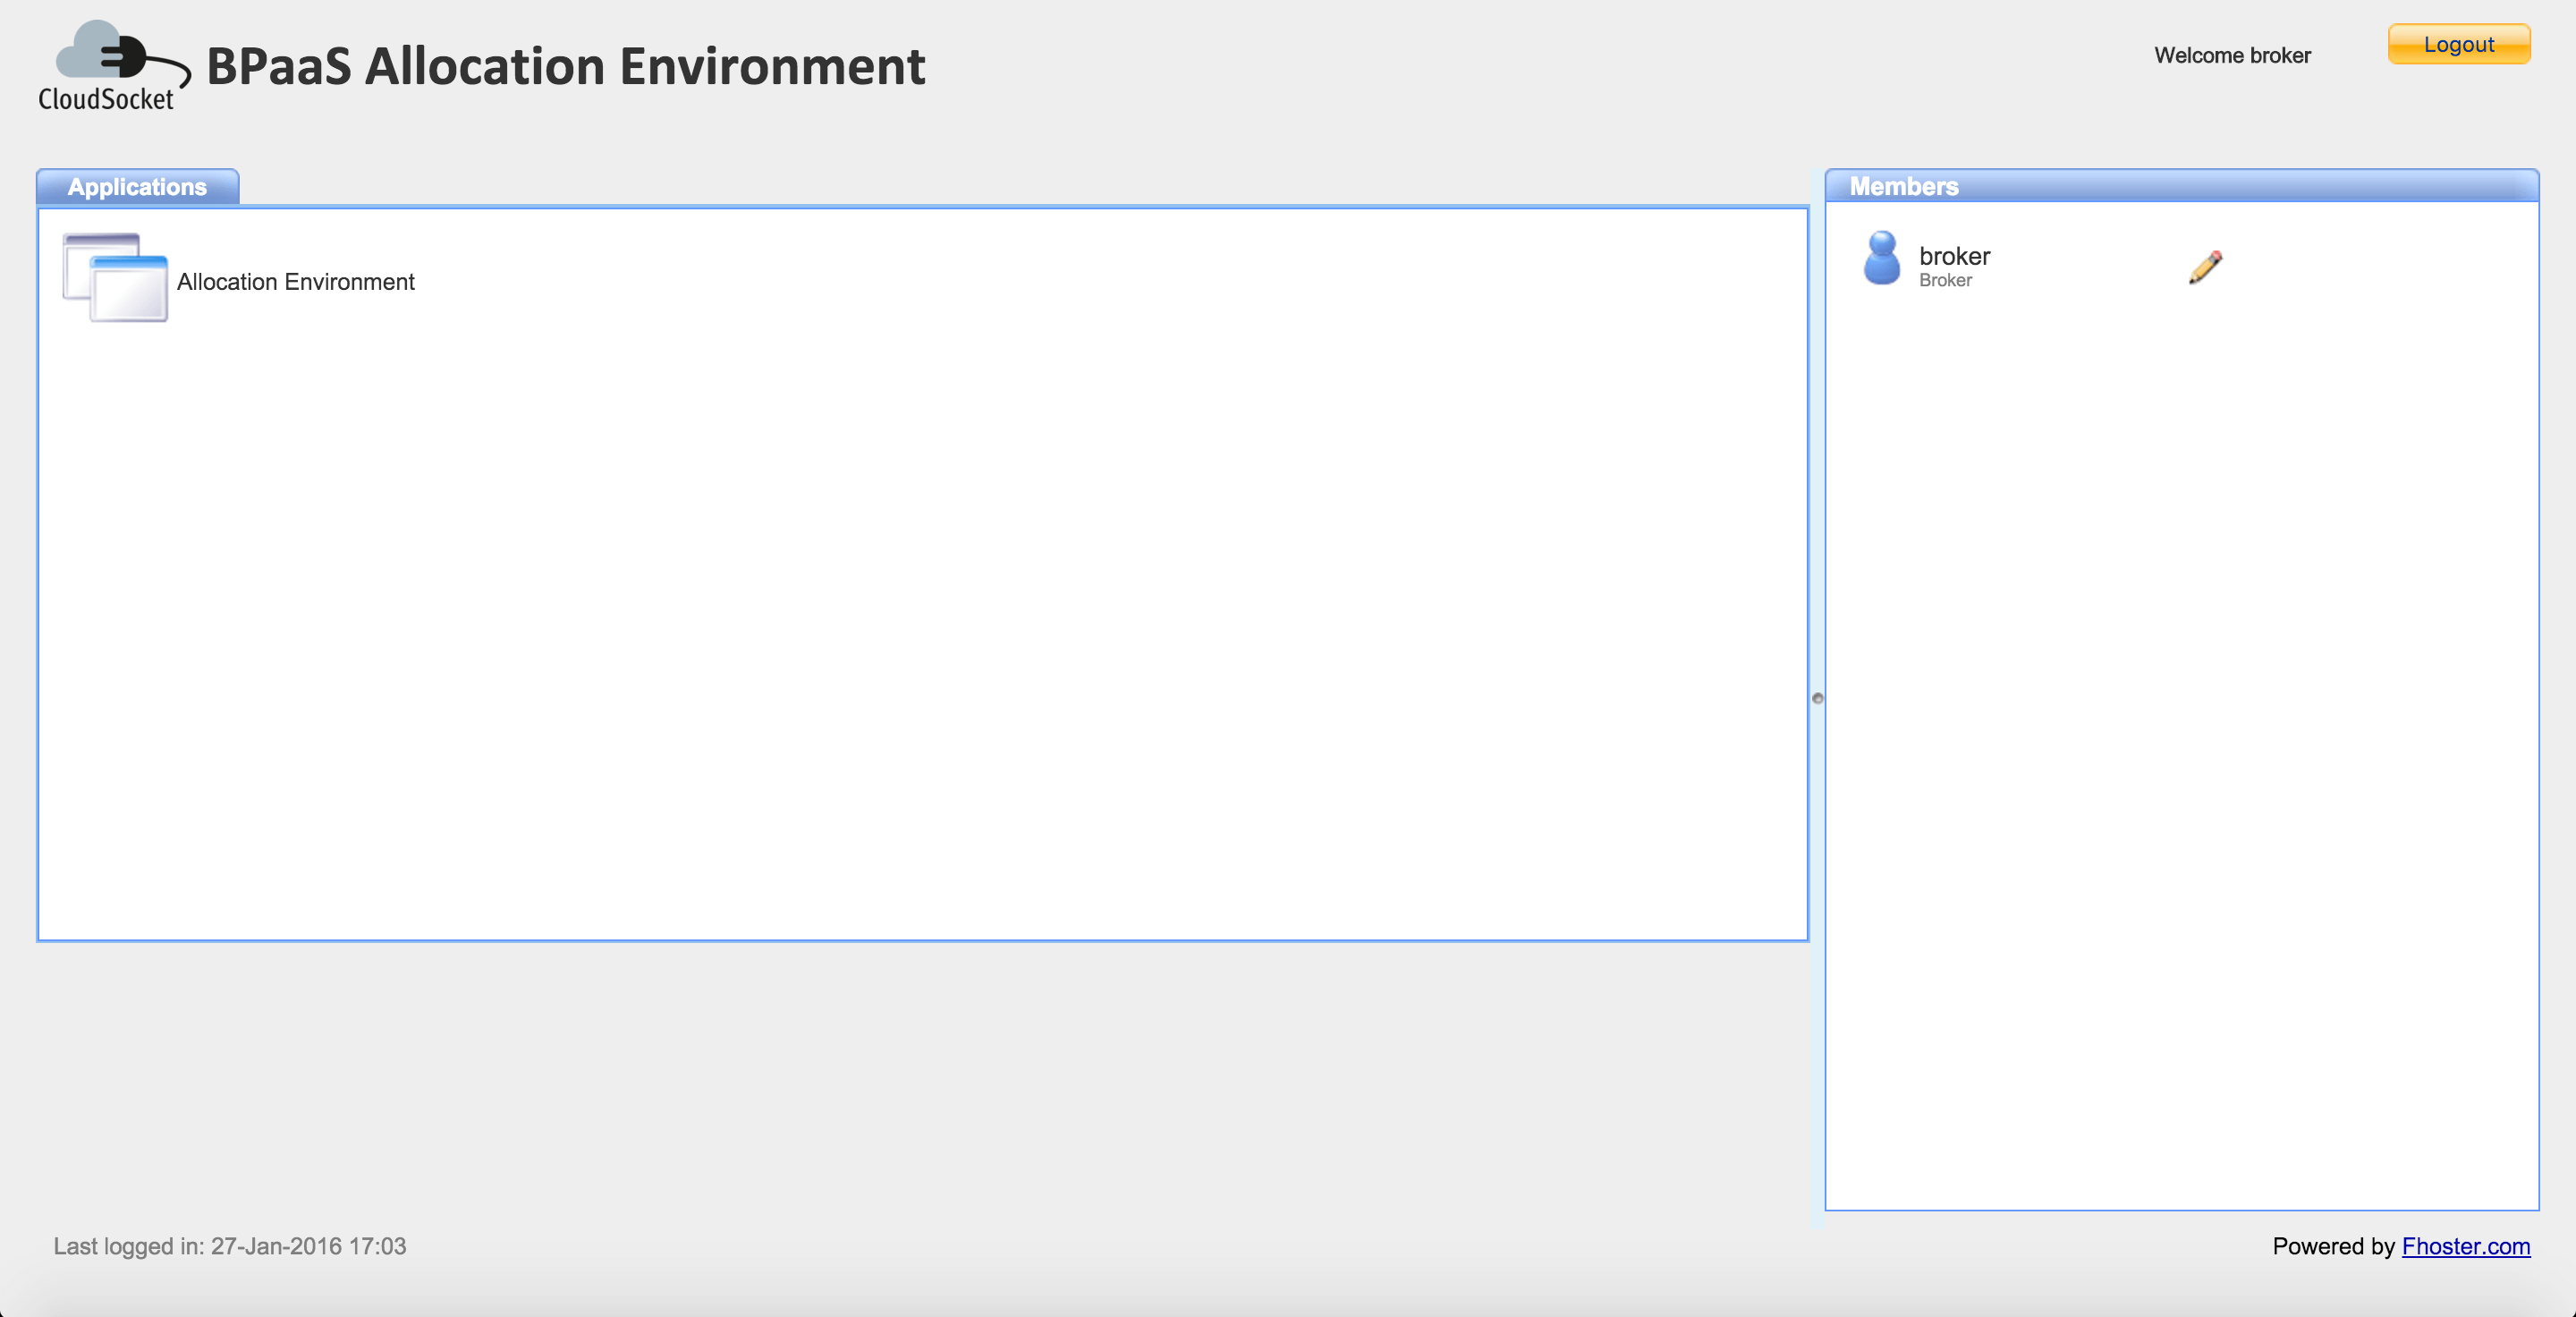
The CloudSocket Broker access to the Allocation Environment web application.

After the login phase, he\she is redirected to the main page and can access to the Allocation Environment clicking the respective application available in the Applications section.
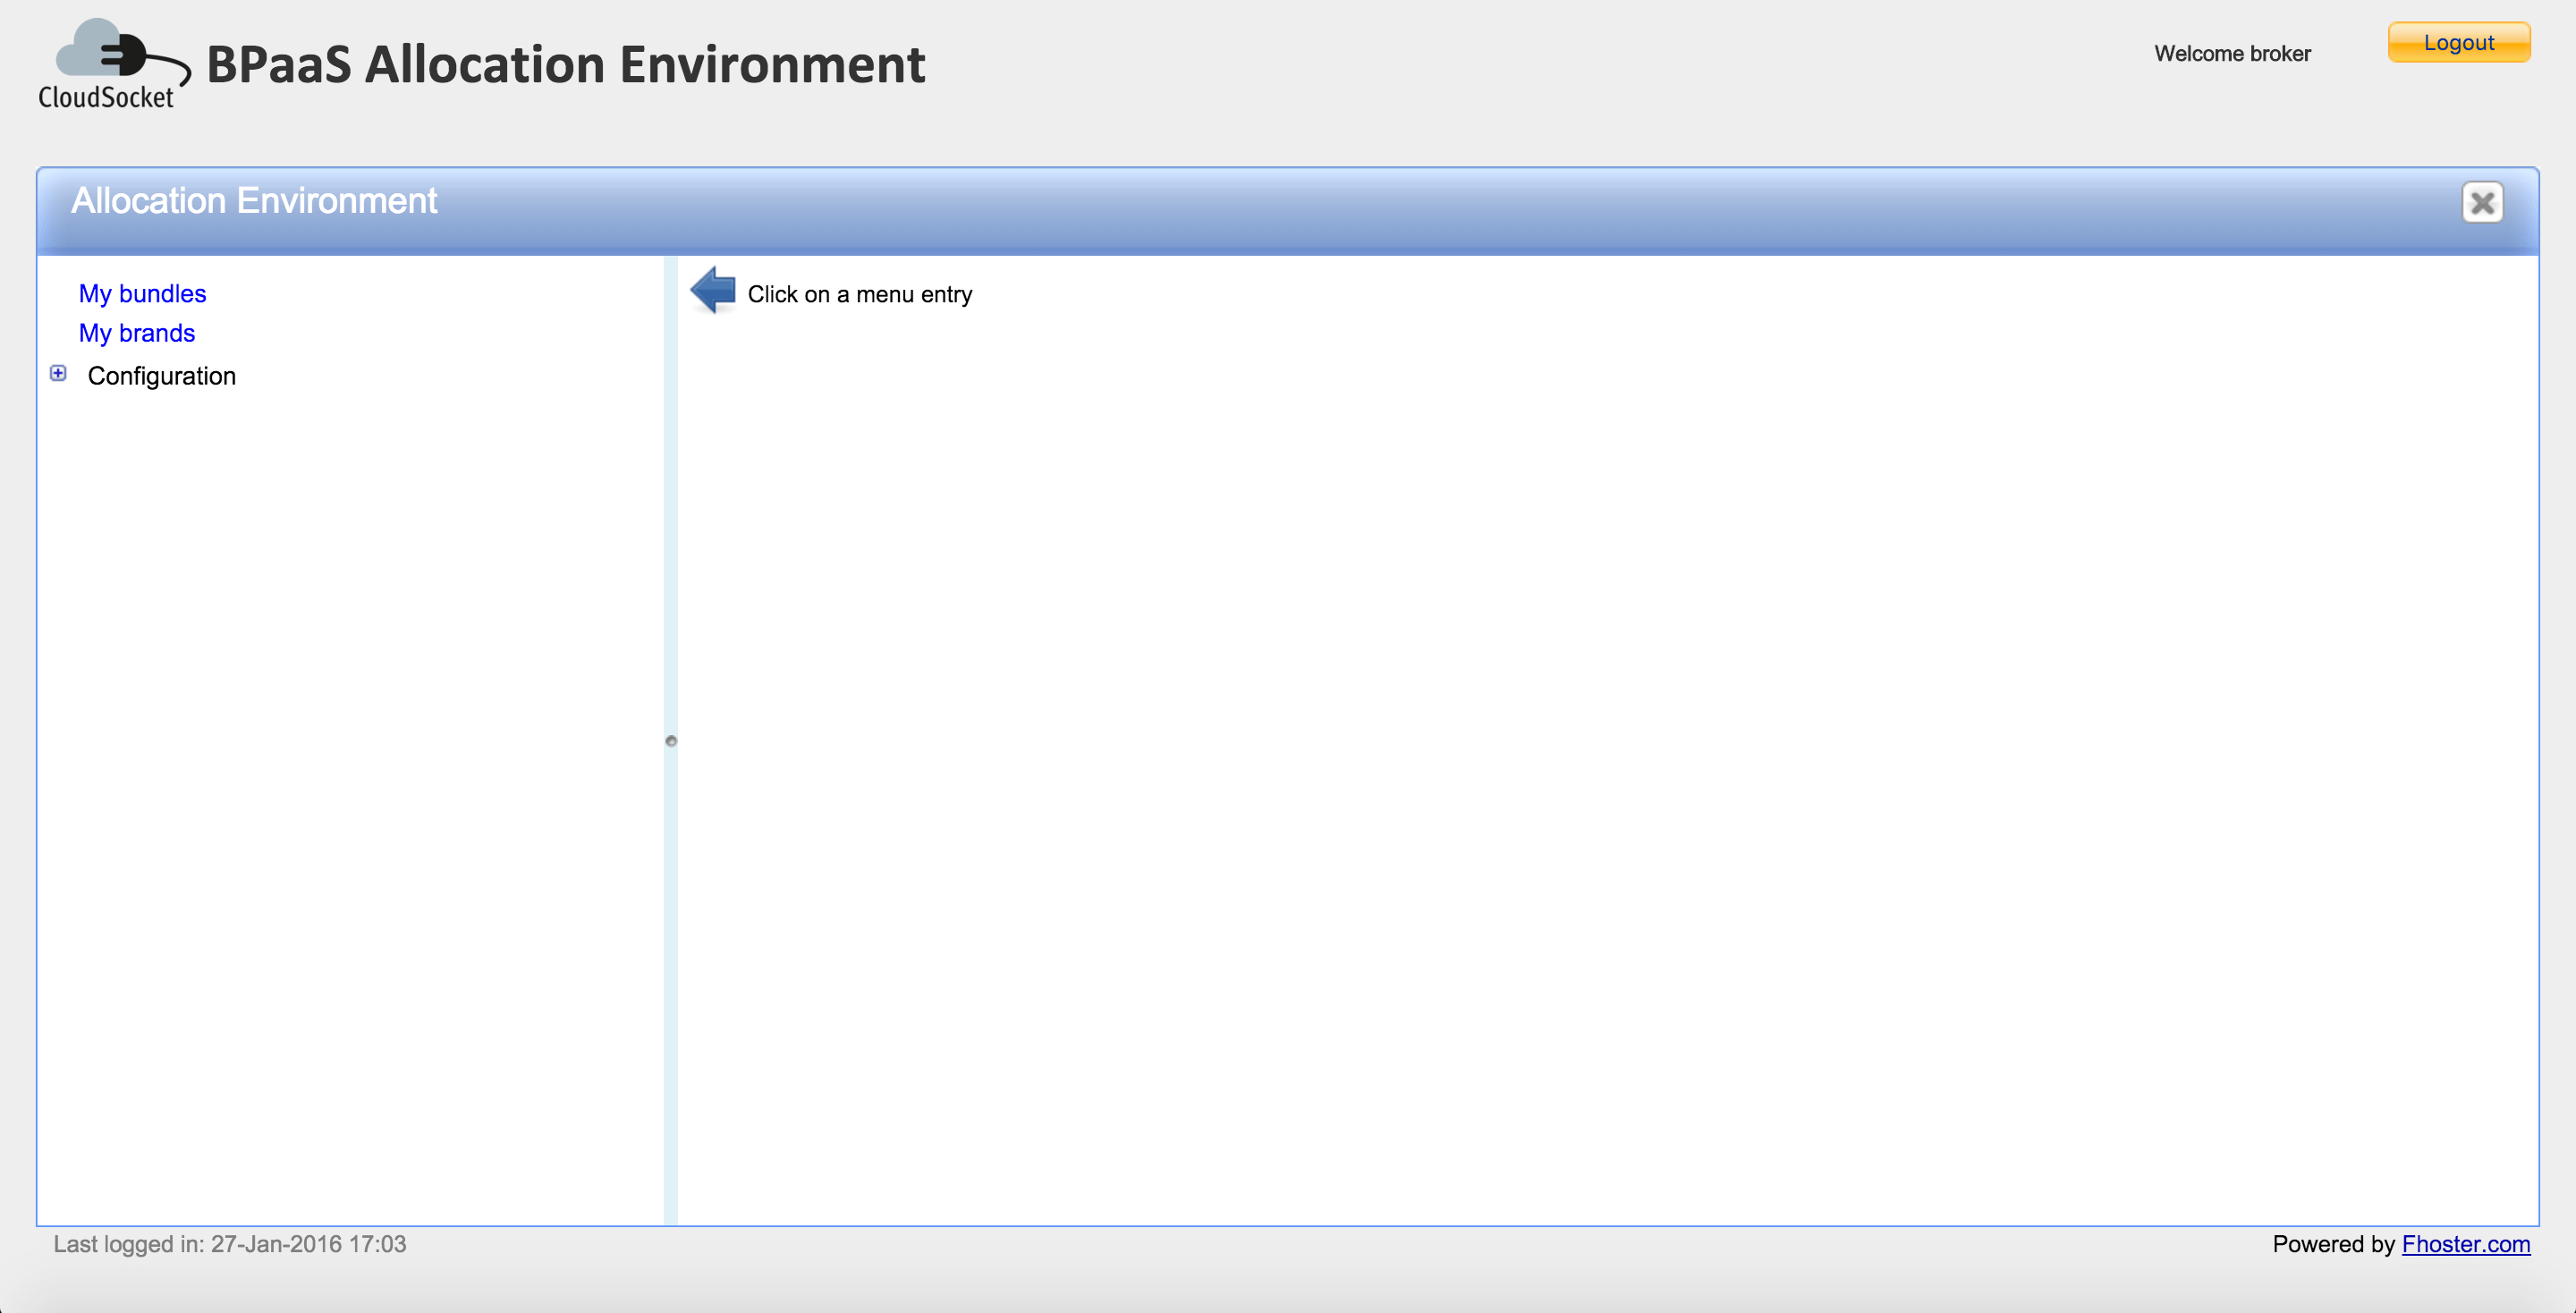
The Allocation Environment has basically two menus:
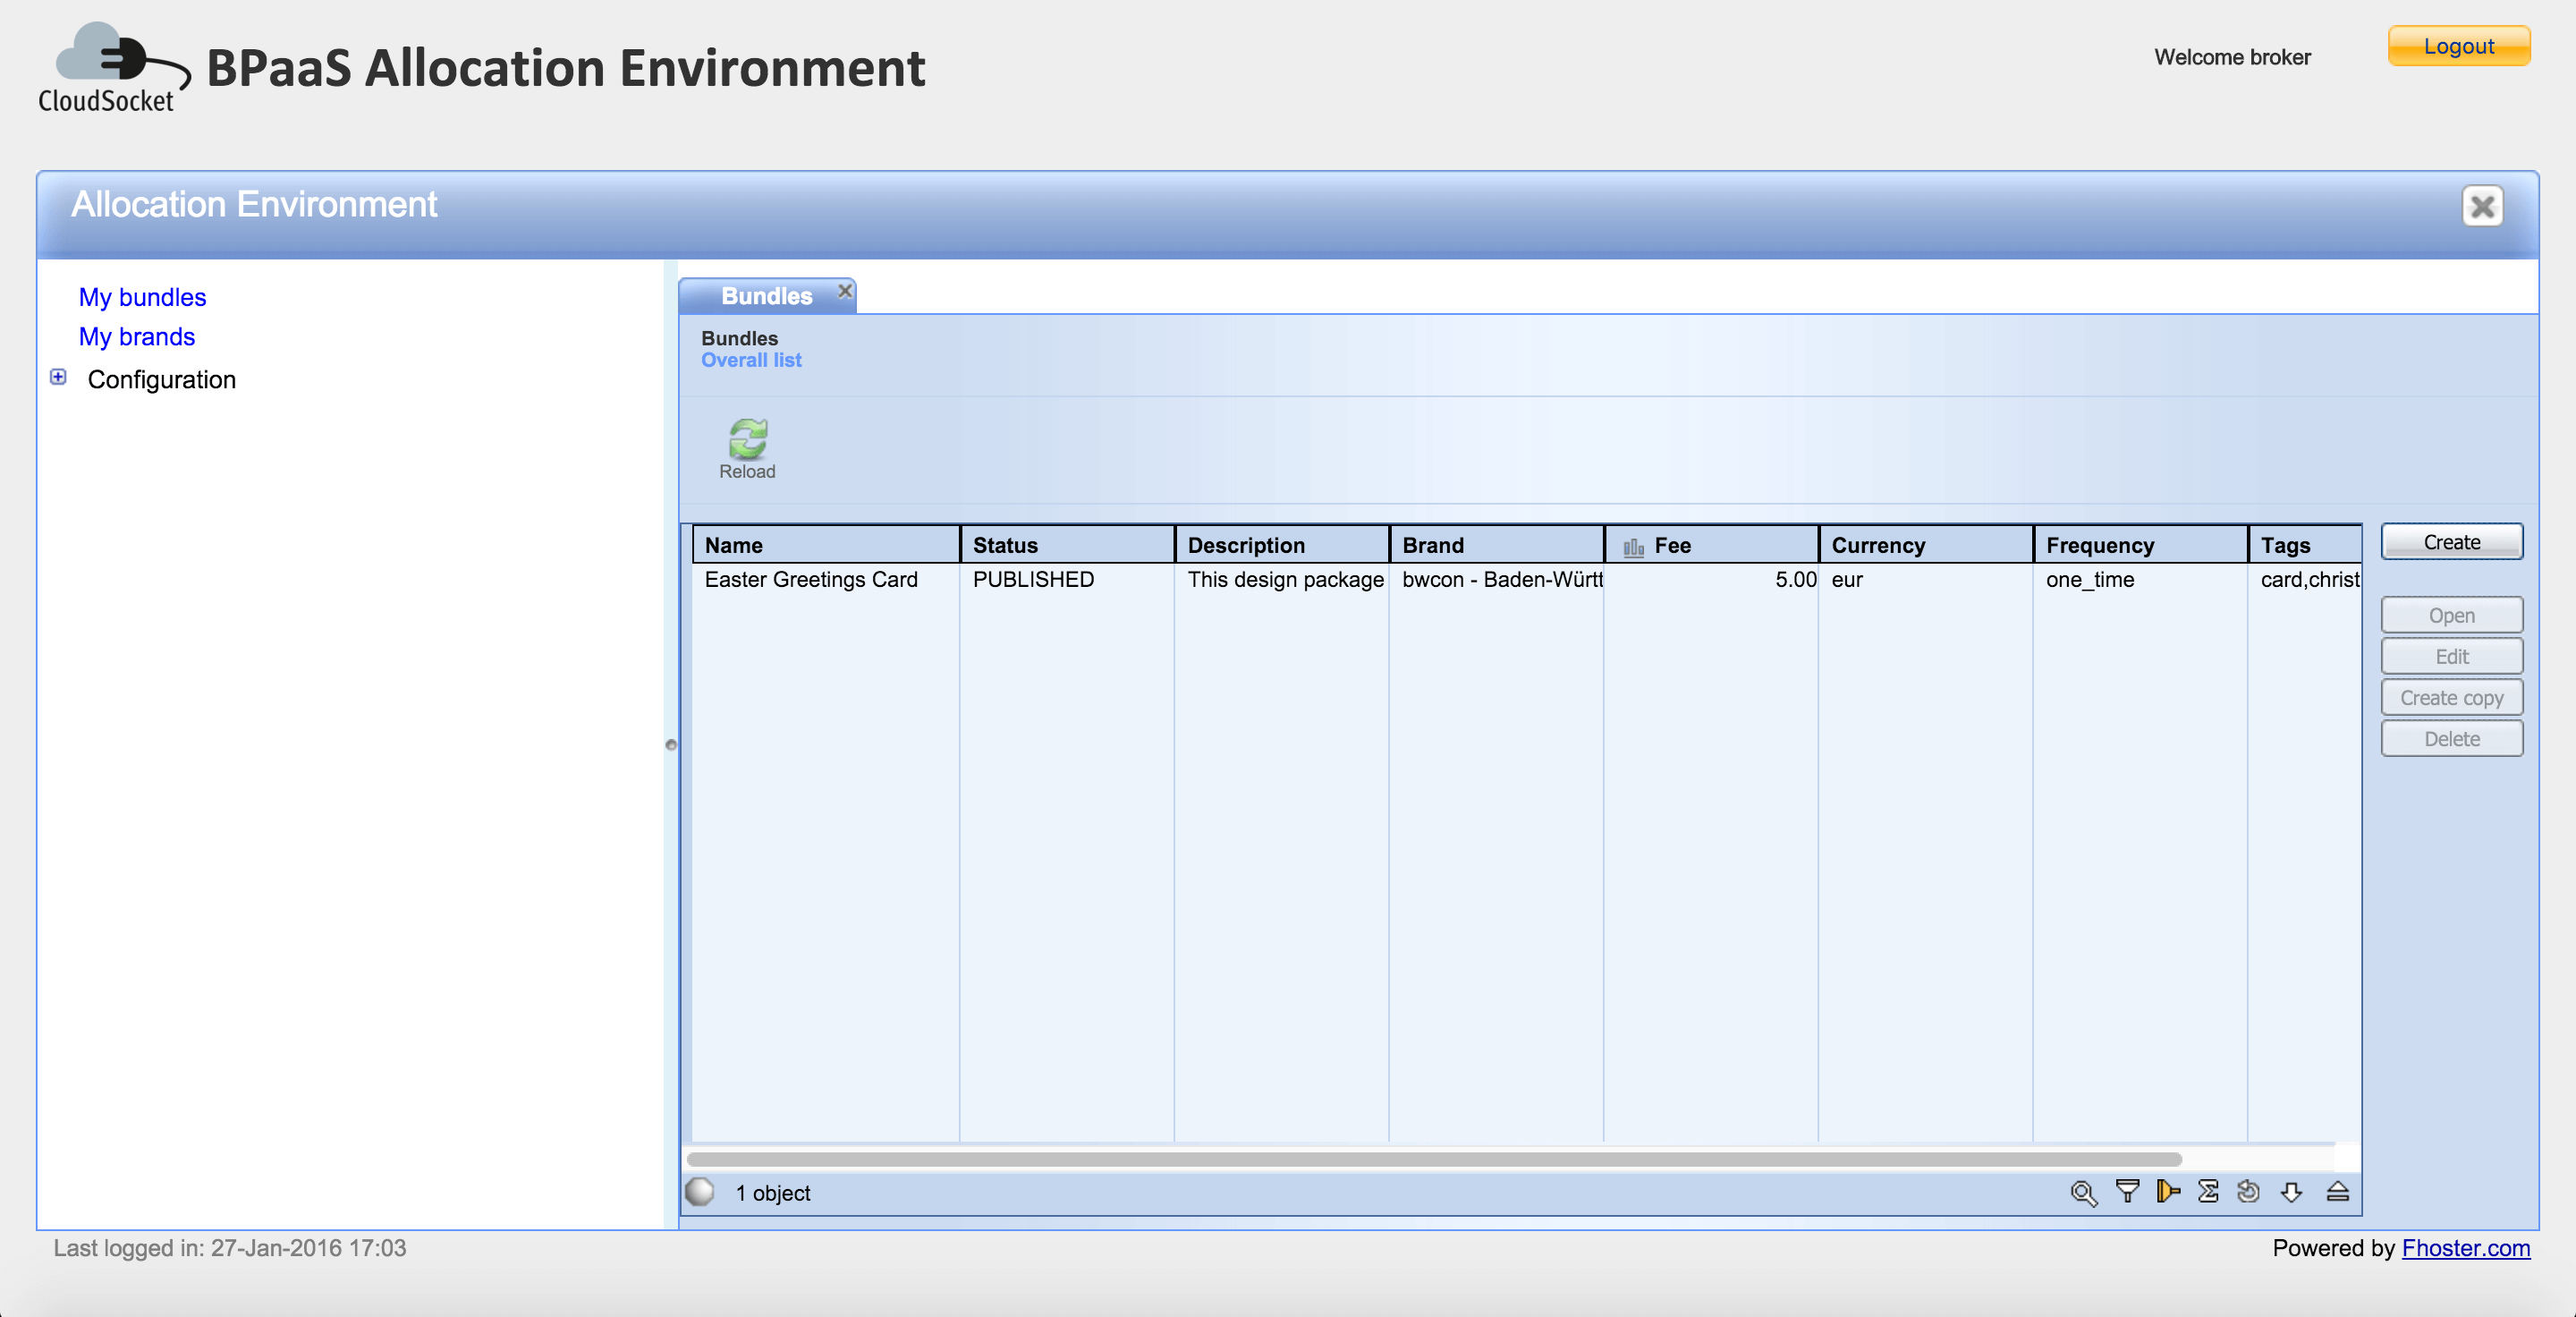
- My bundles: contains all the BPaaS Bundles related to the broker, he can access here in order to browse existing bundle or to create a new one
- My brands: contains all the brands related to the broker, the brands are used by the Marketplace Environment to identify who is the seller of the Bundle
02-main-allocation-environment.png 03-bundle-list.png
Bundle Creation
The broker can create a new BPaaS Bundle by clicking the Create button inside the My bundles menu.
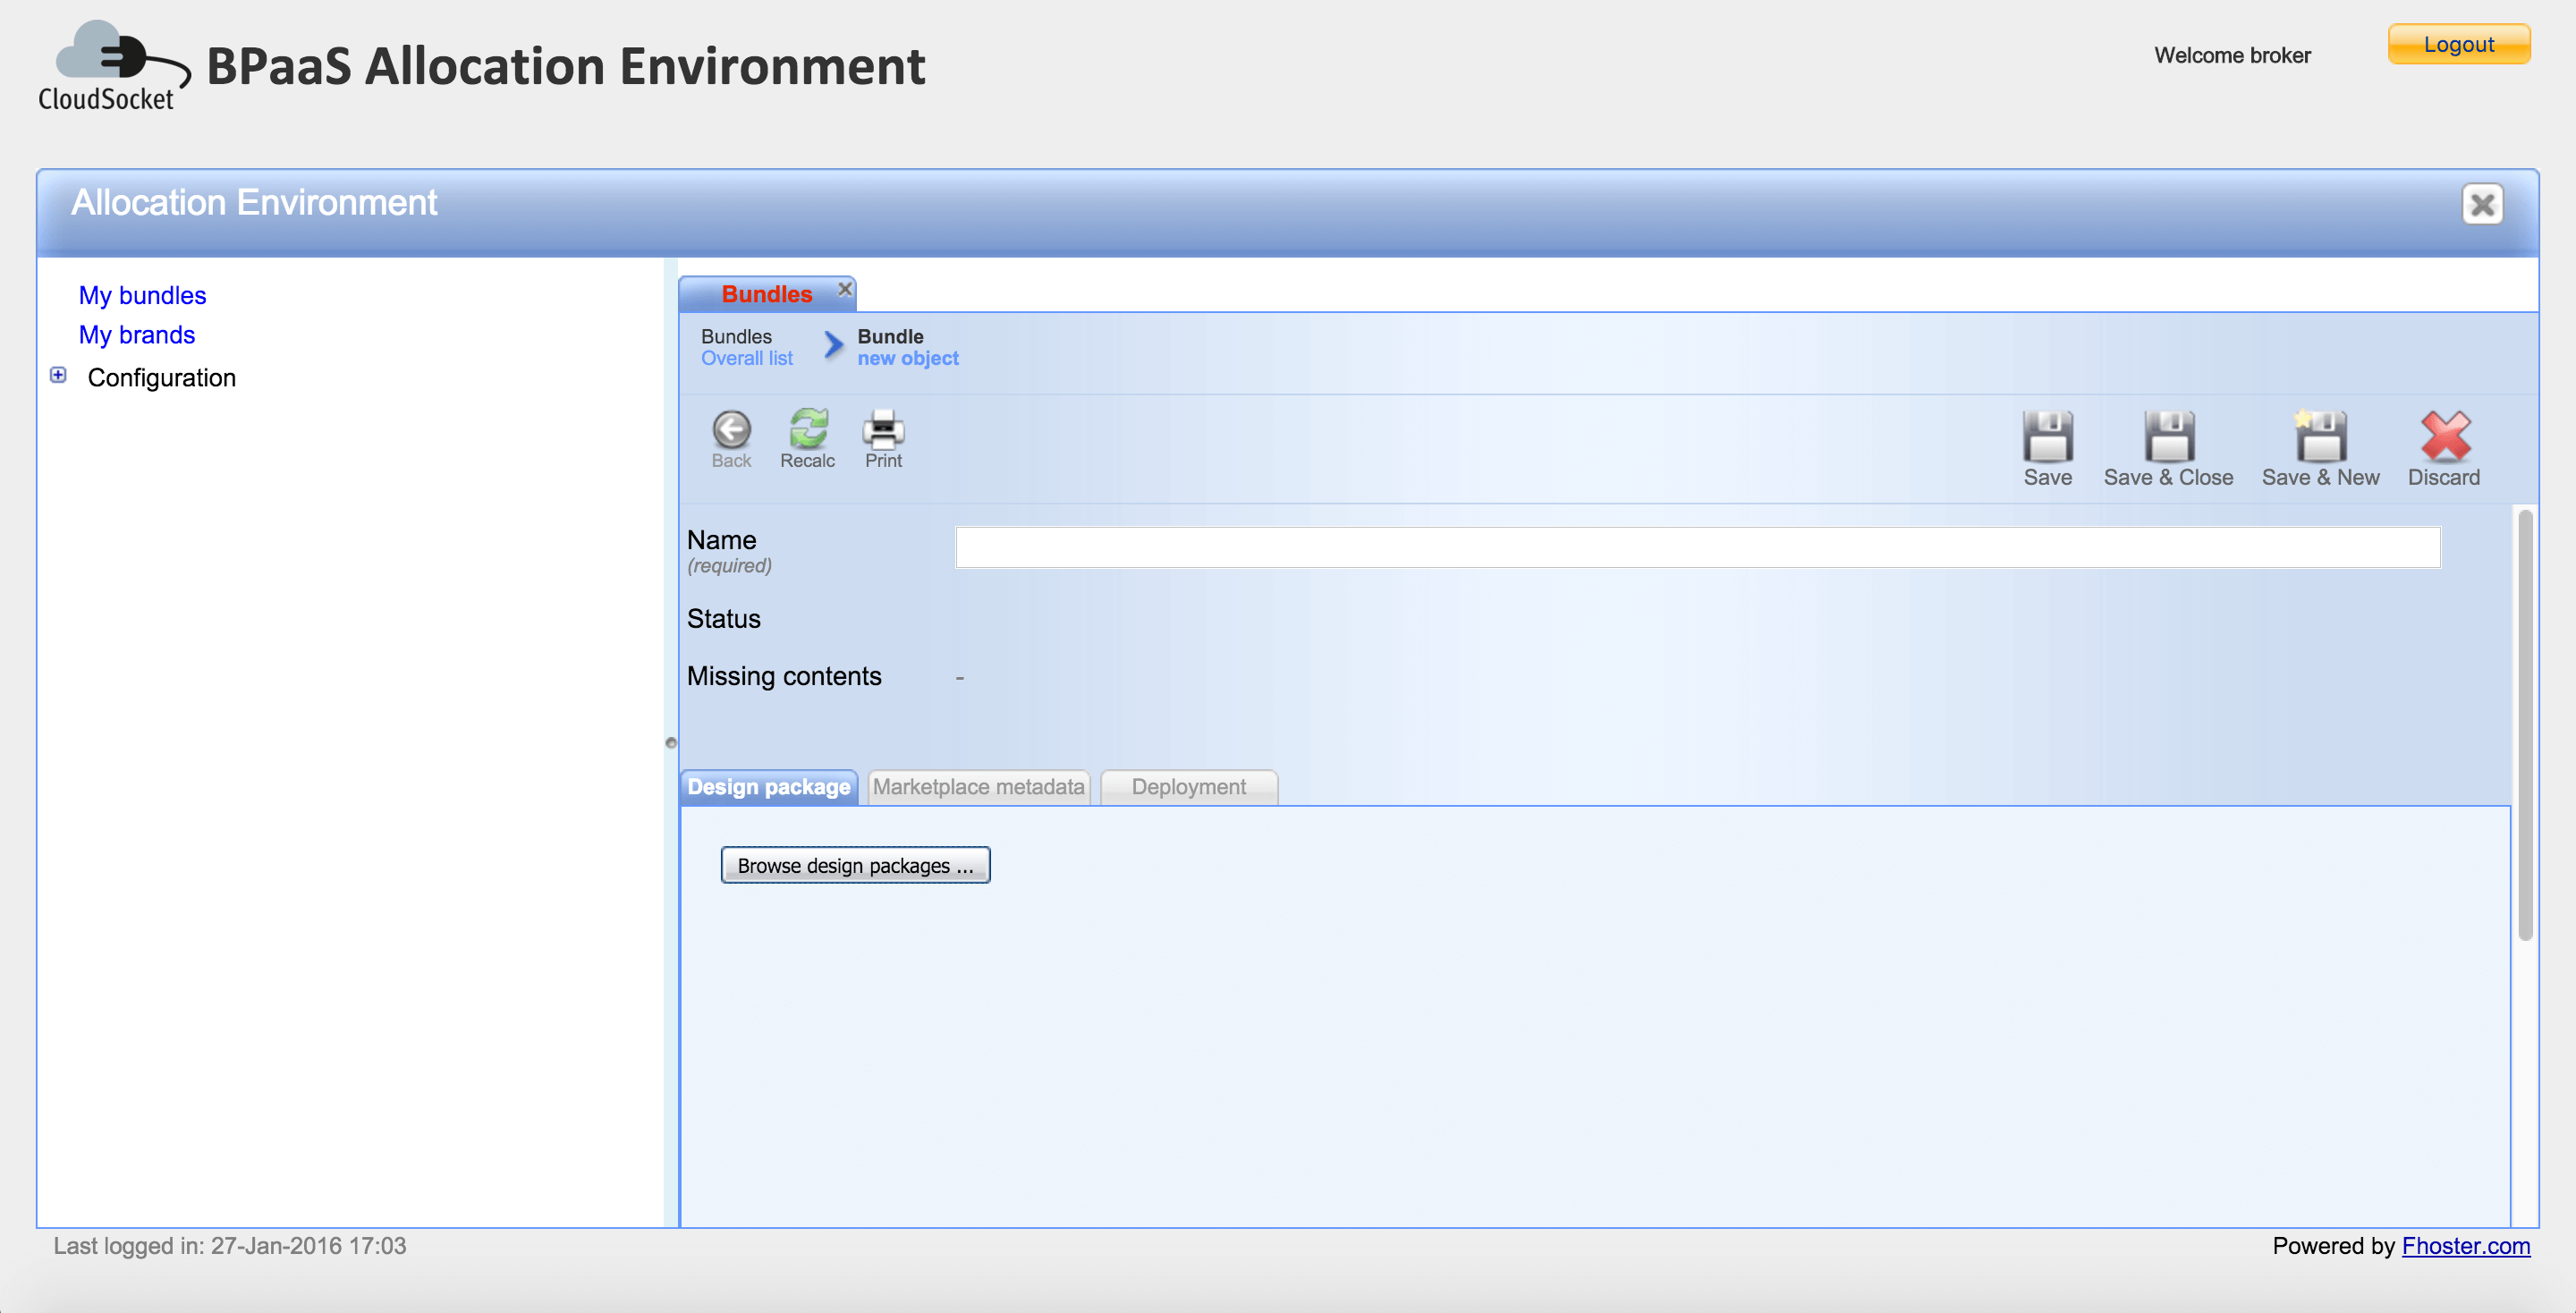
Immediately is opened a form that contains all the sections related to the new bundle. The name is the only mandatory field required to save the new BPaaS Bundle and it is unique, so it could not be possible have two bundles with the same names.
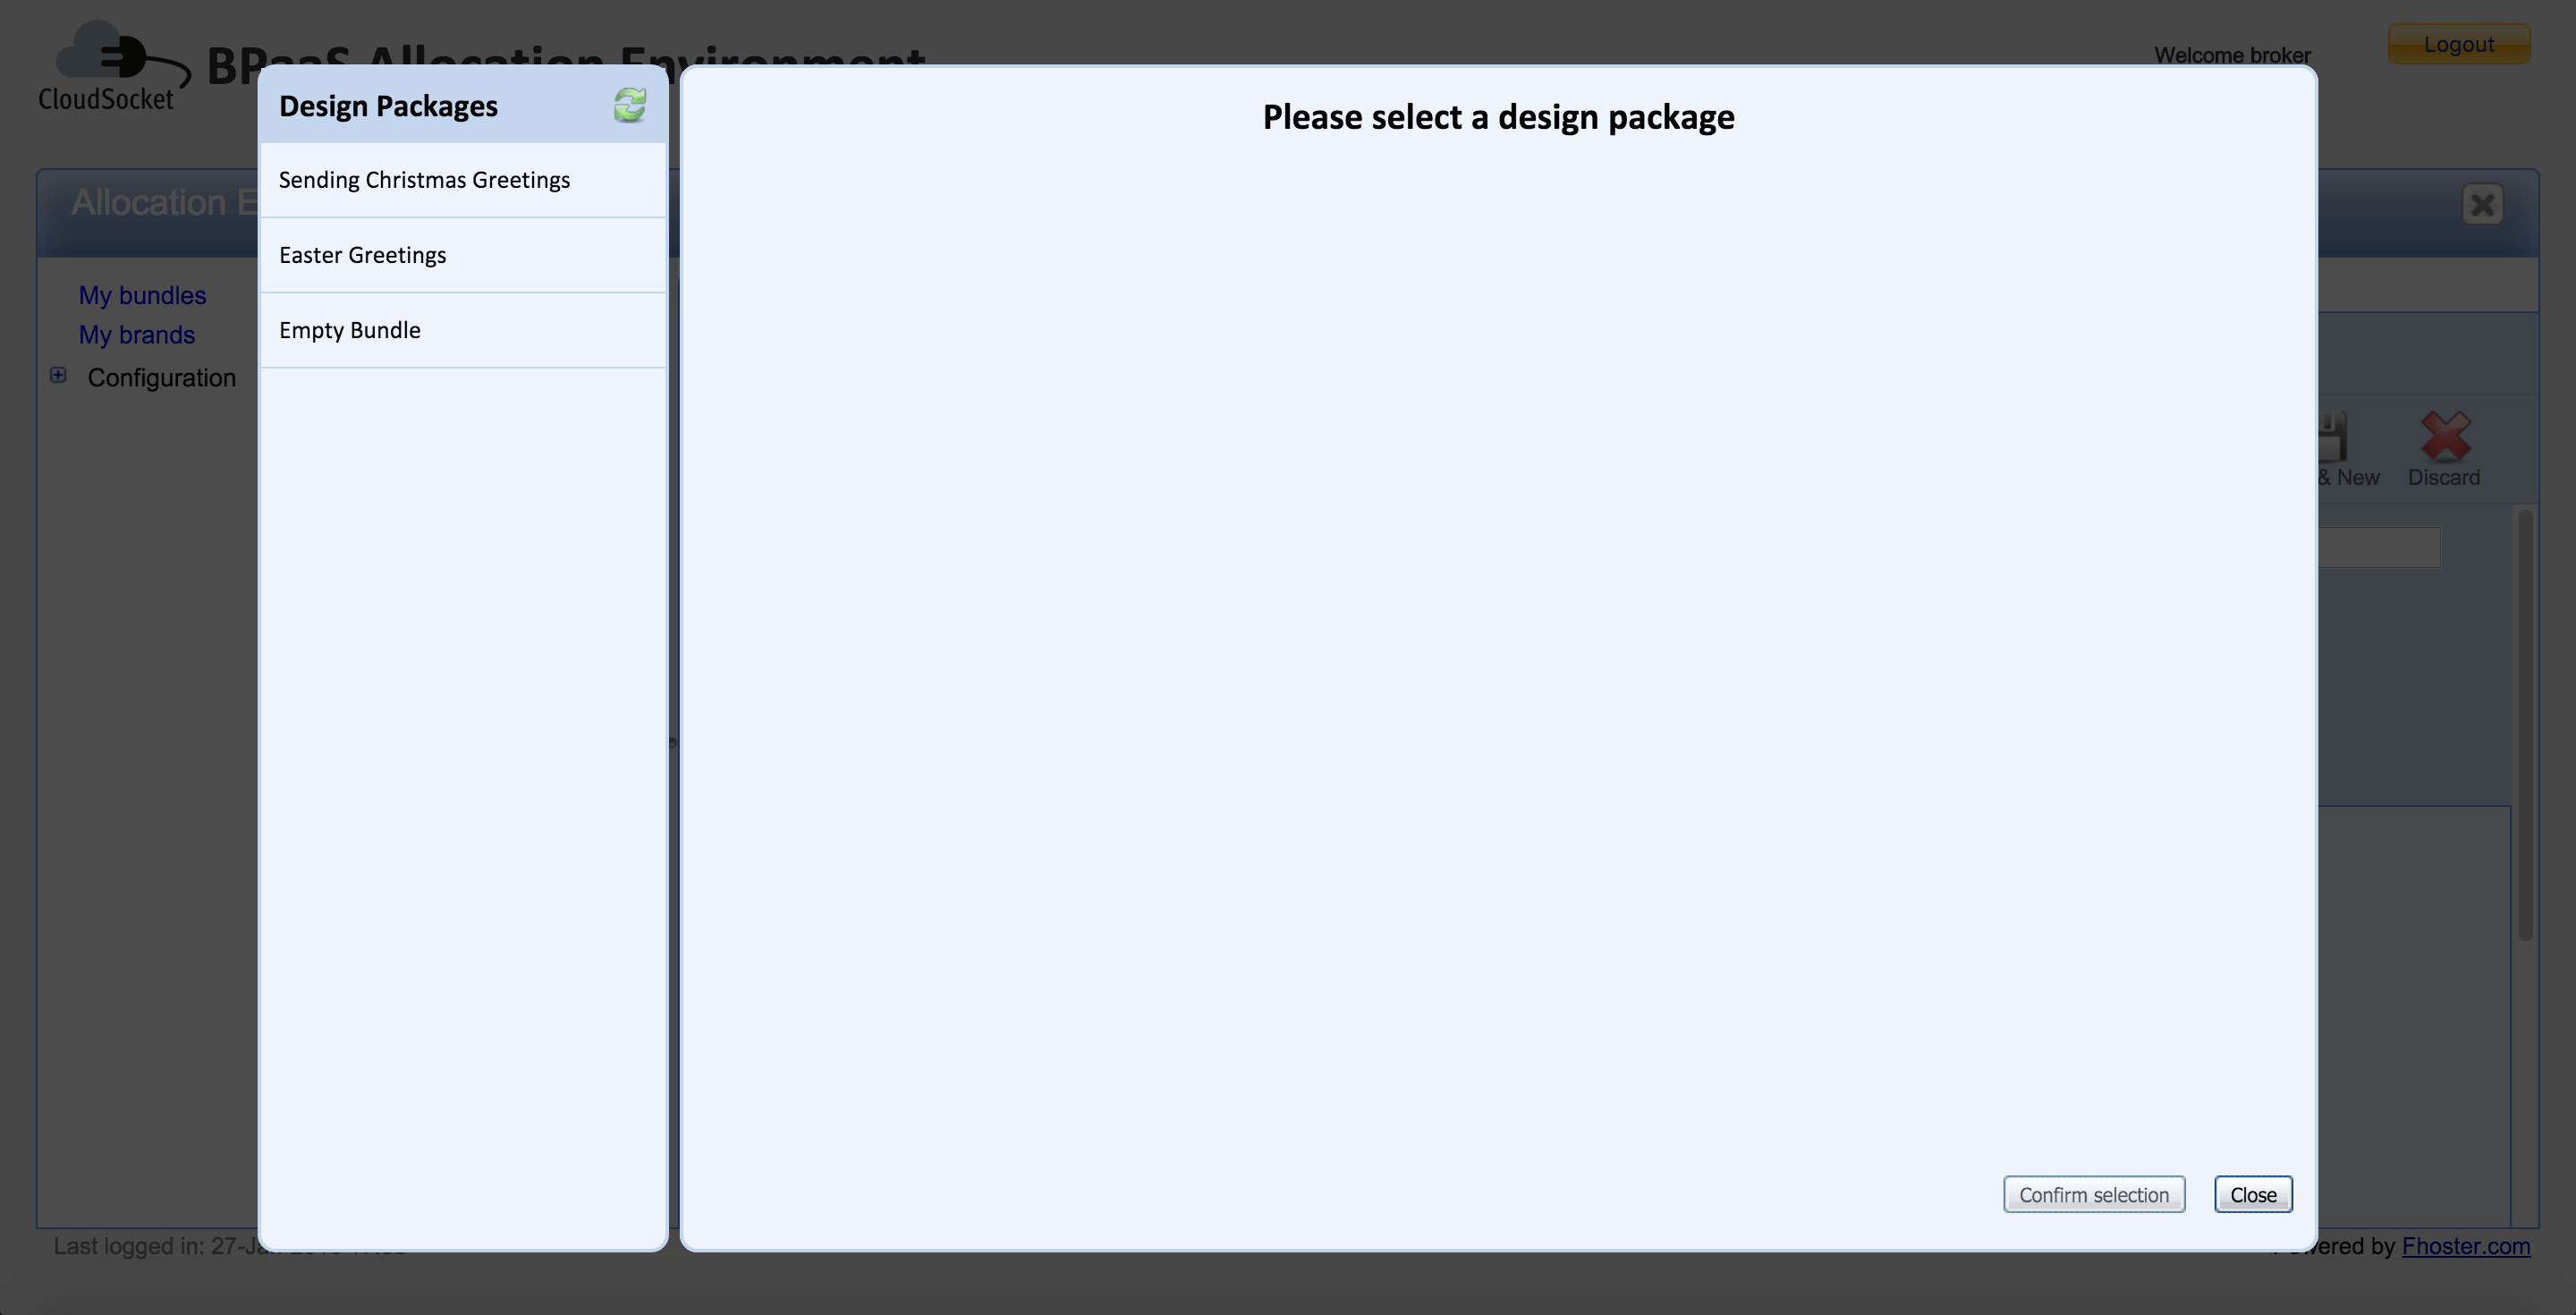
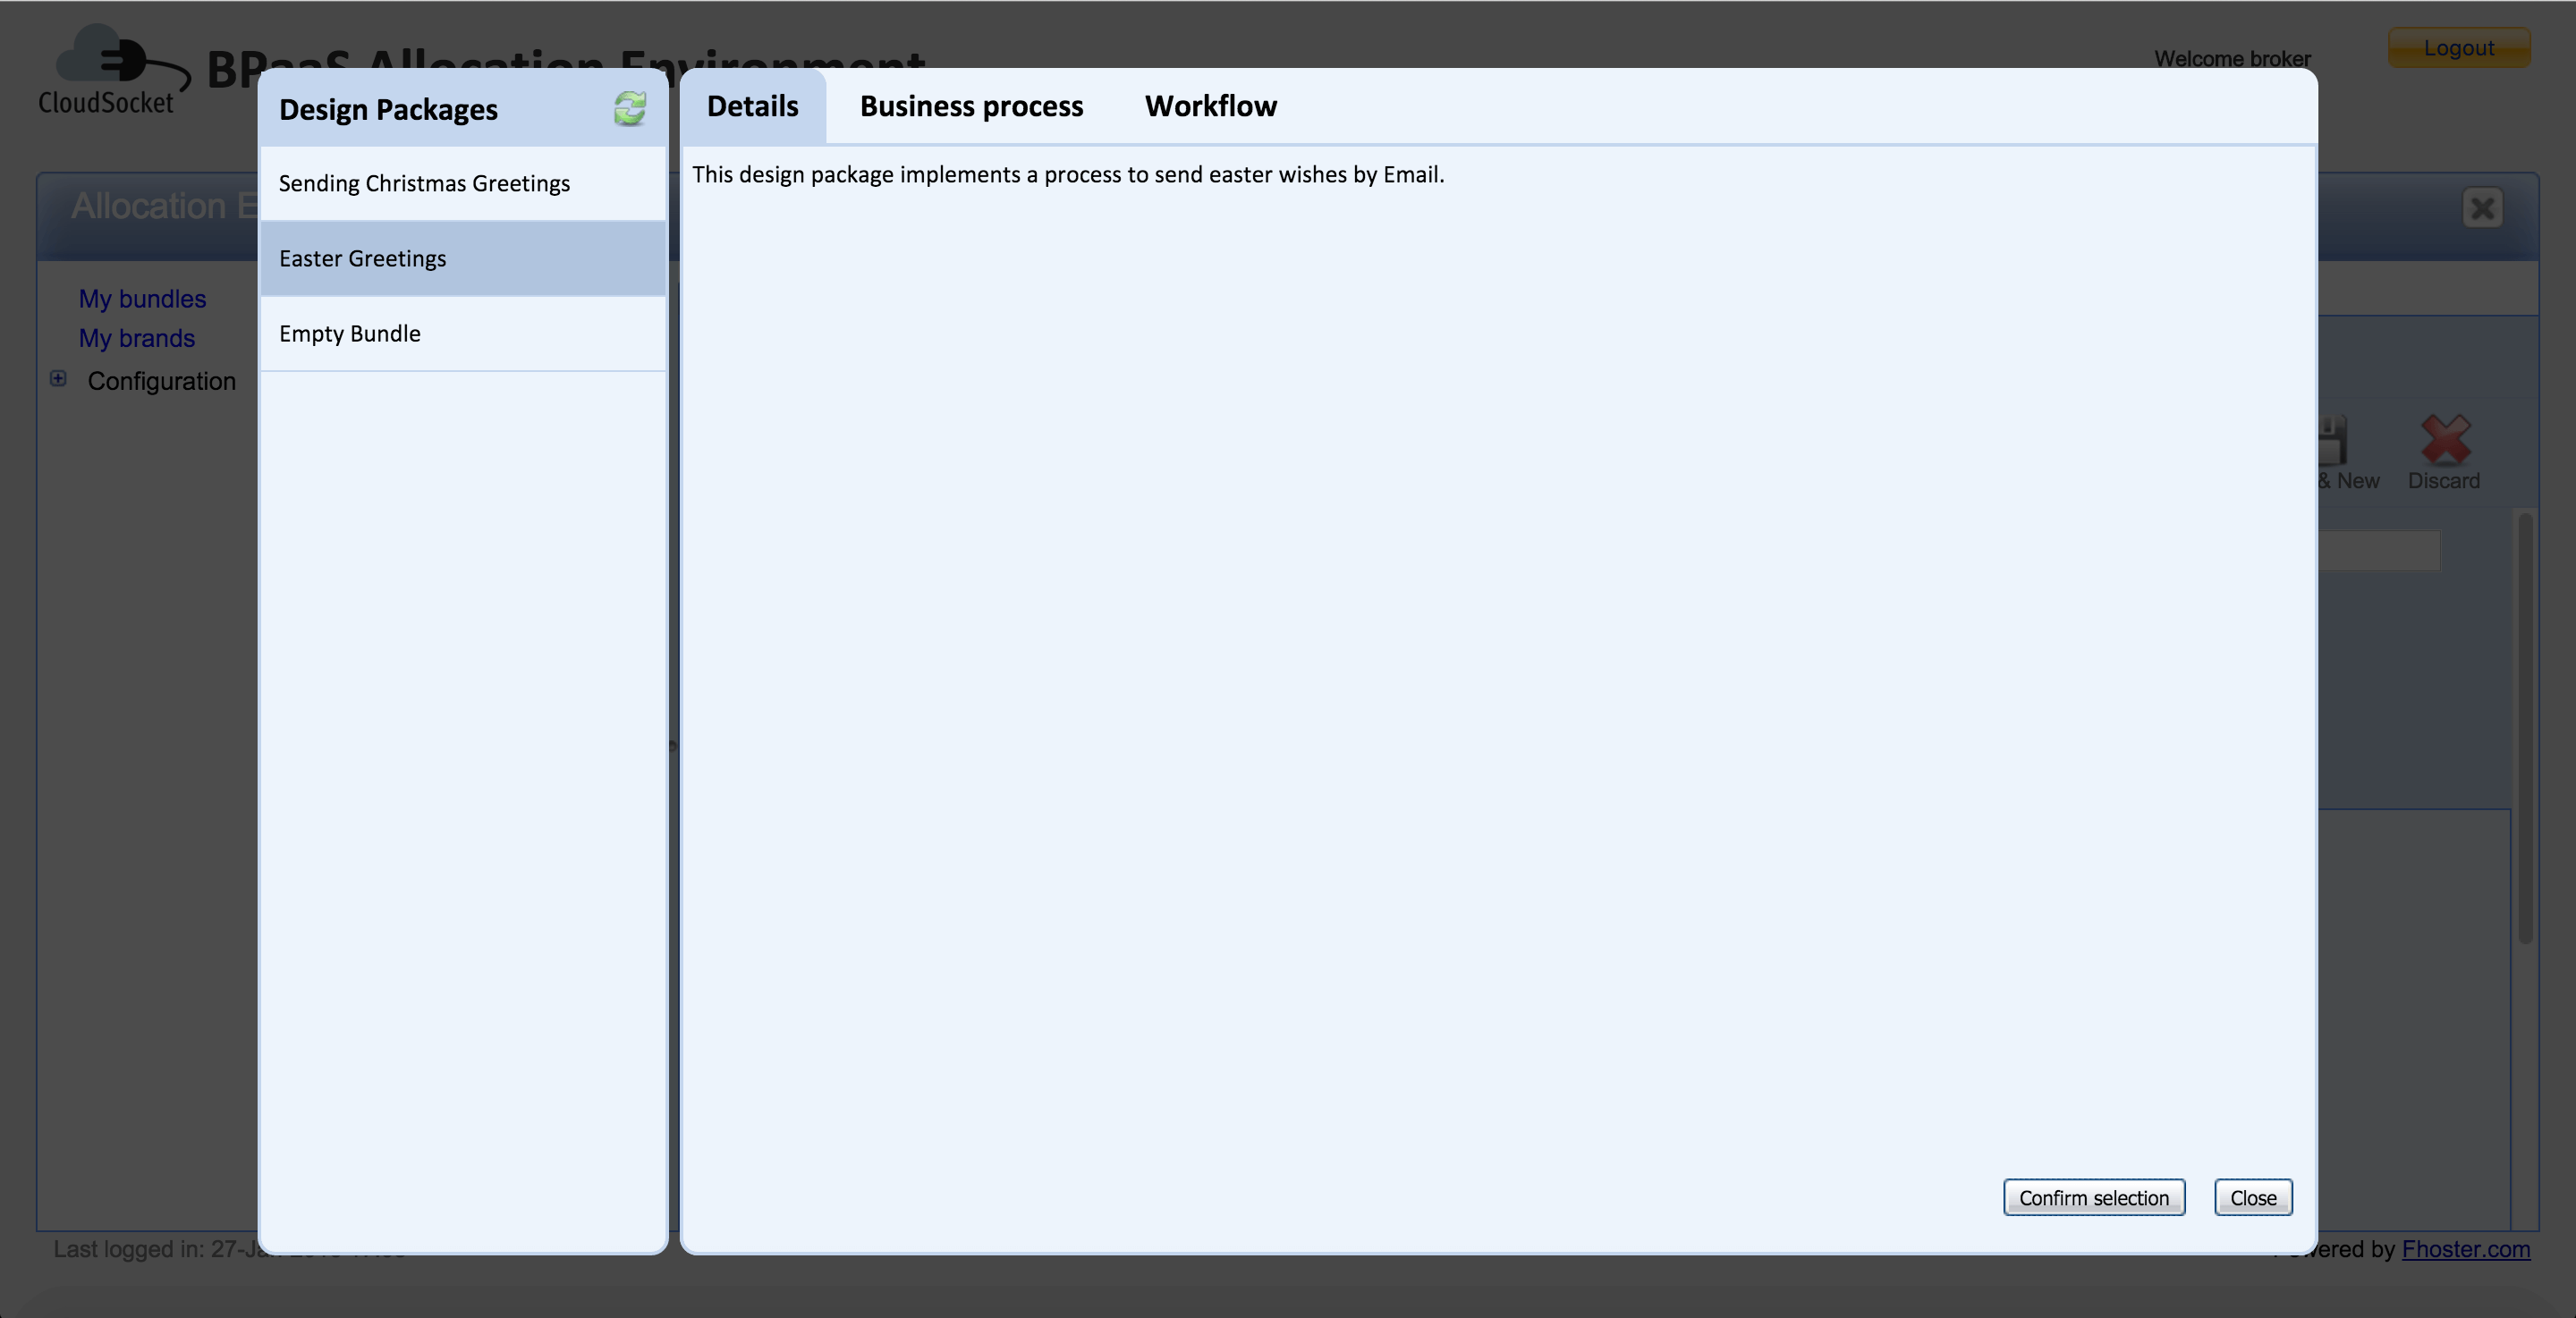
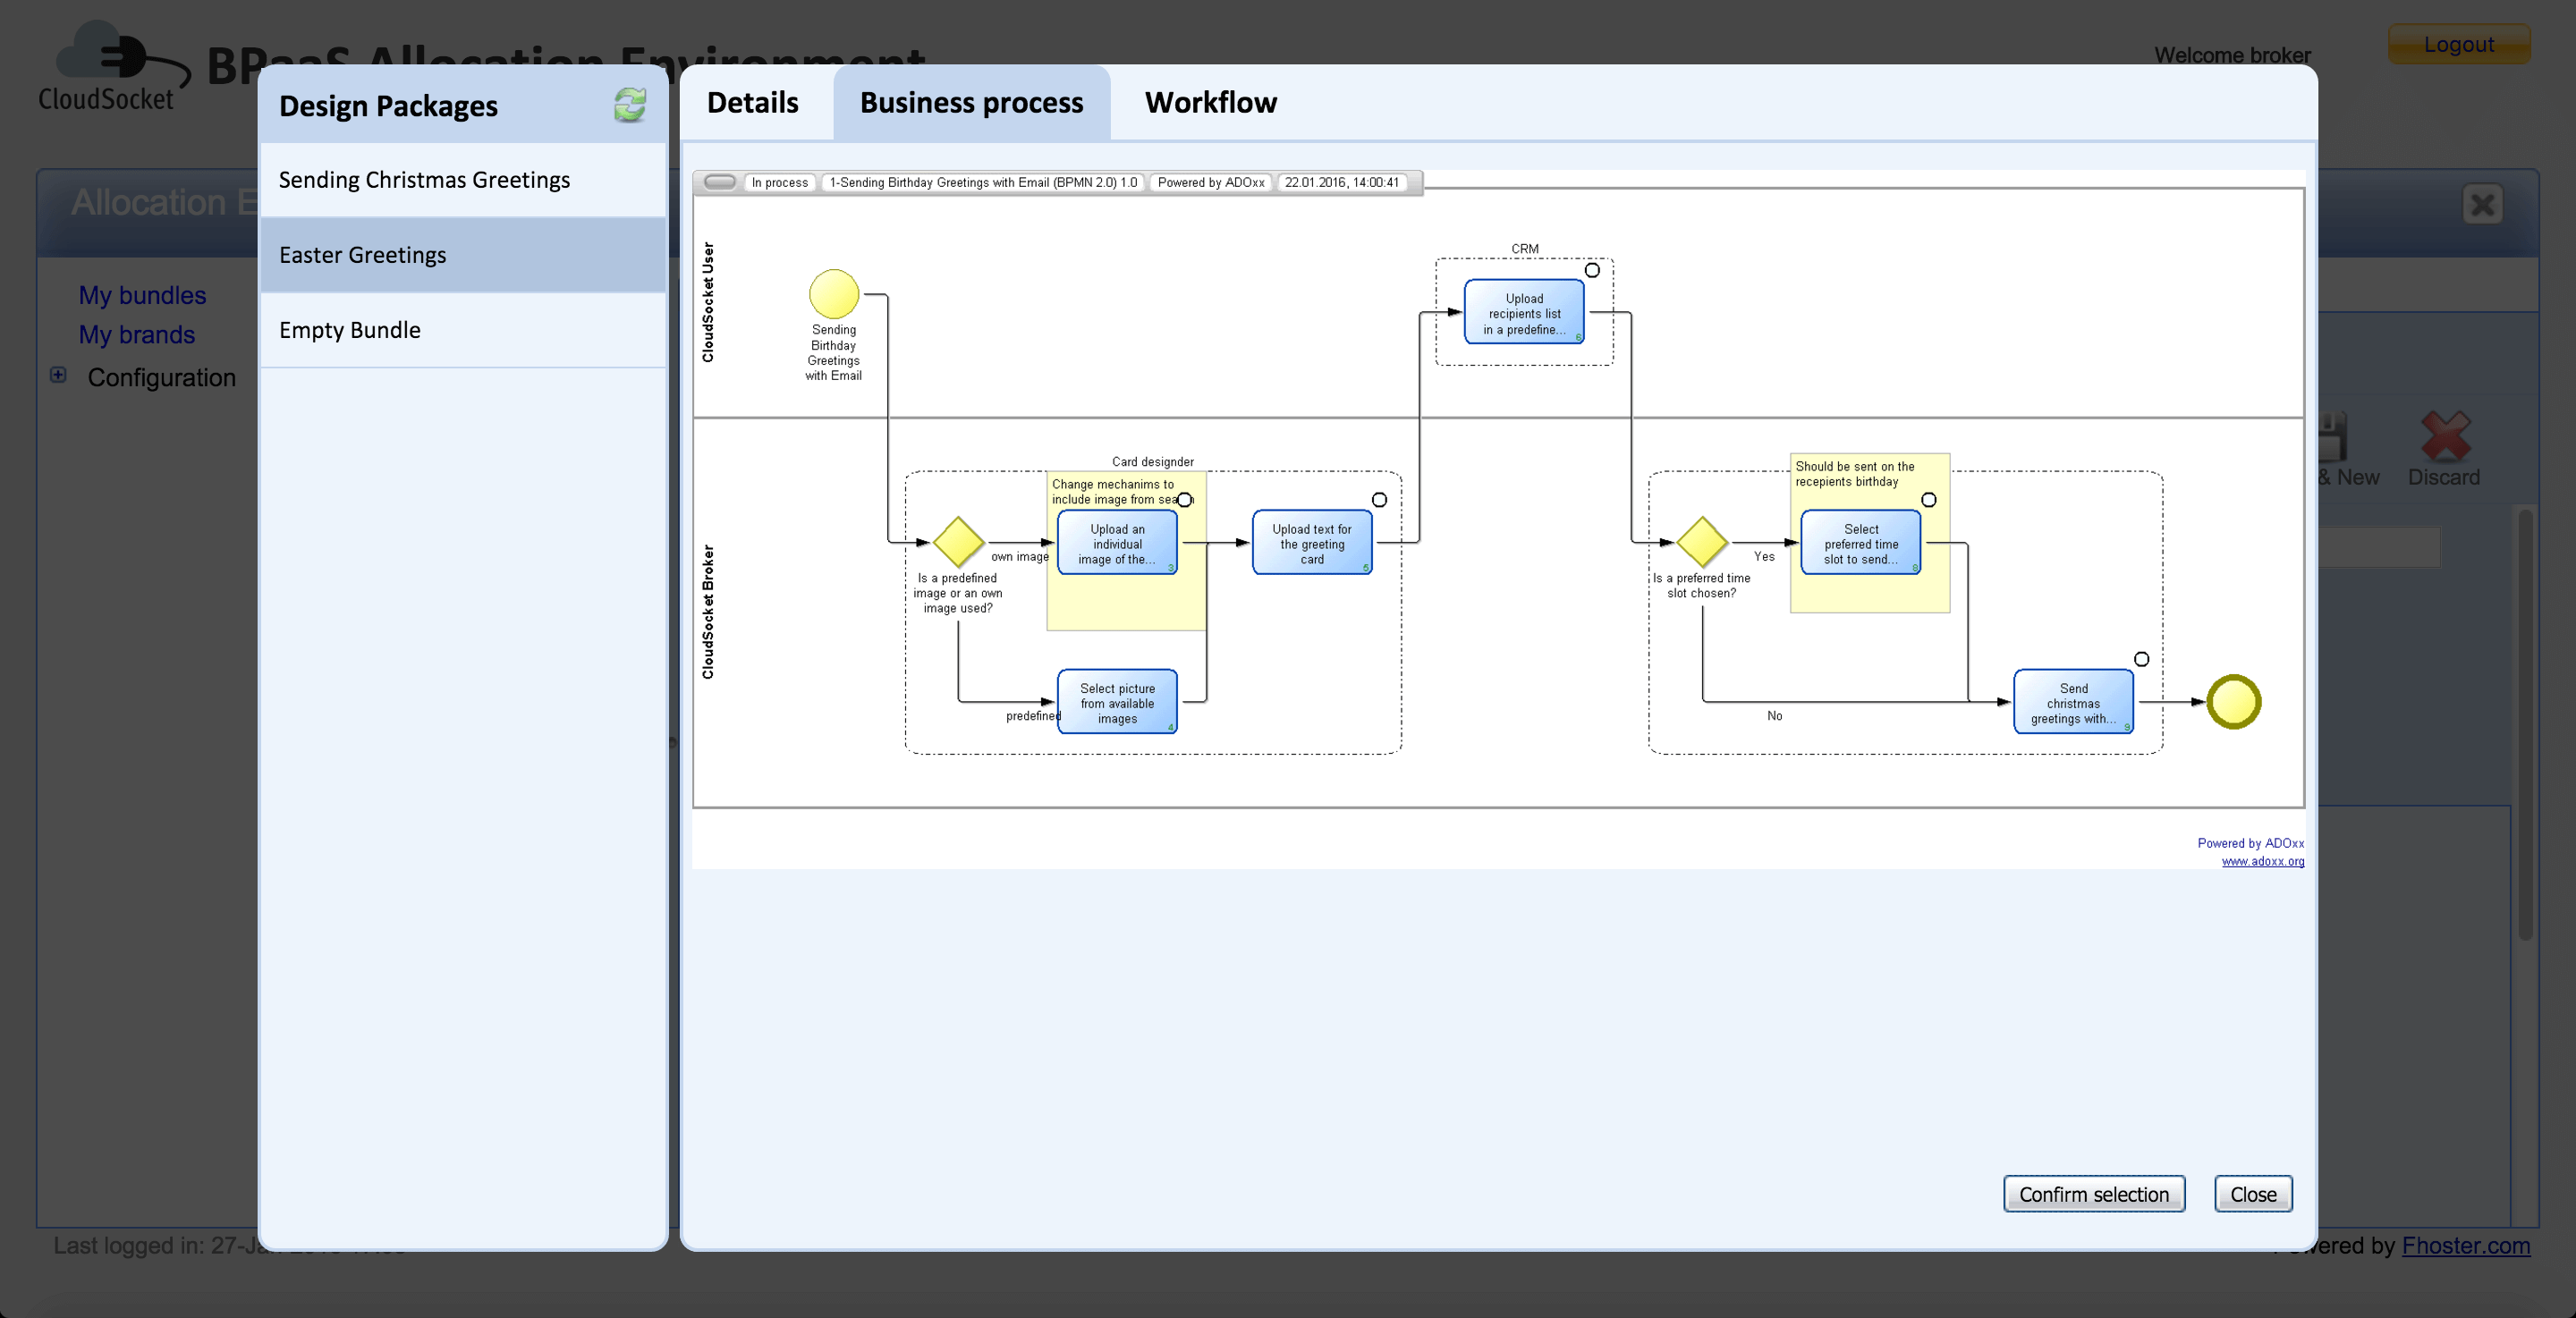
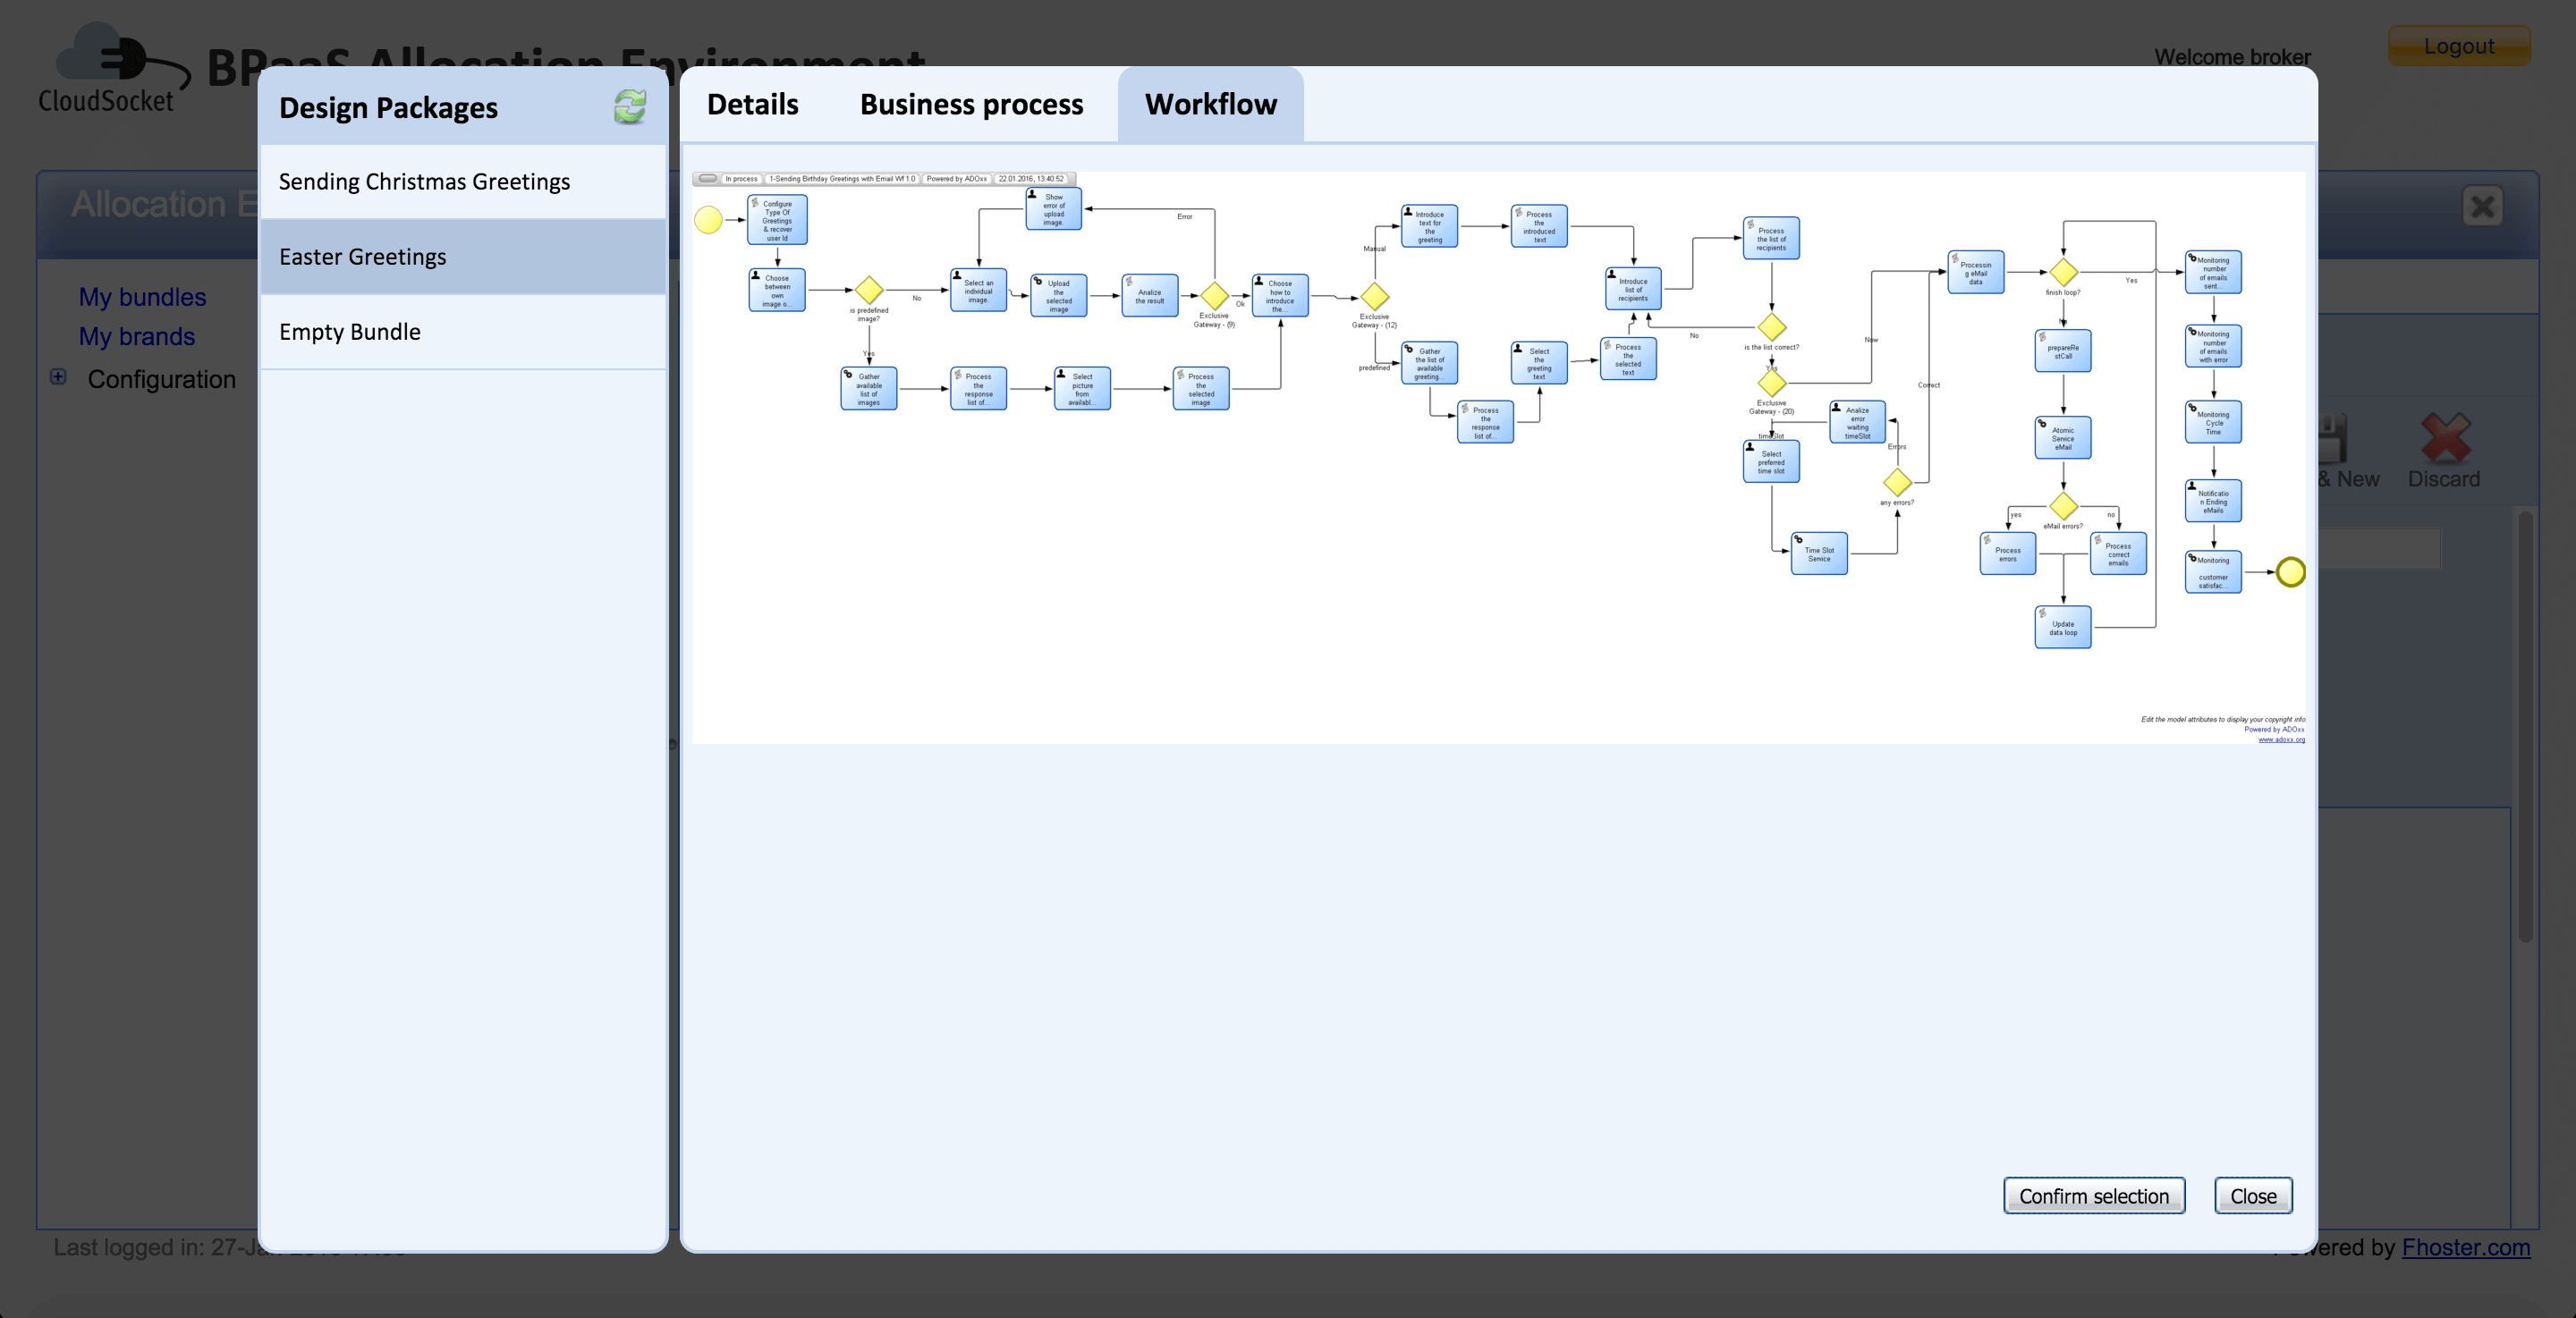
The entry point of the bundle is the selection of the Design Package that can be performed by using the button Browse design packages. The browse open a new window that shows all the Design Packages registered into the Design Environment. The broker can browse them, view all the details, select the proper one and confirm the selection by clicking the Confirm selection button.
05-browse-bpaas-design-packages.png 06-select-bpaas-design-package-detail.png 06-select-bpaas-design-package-detail-bp.png 06-select-bpaas-design-package-detail-wf.png
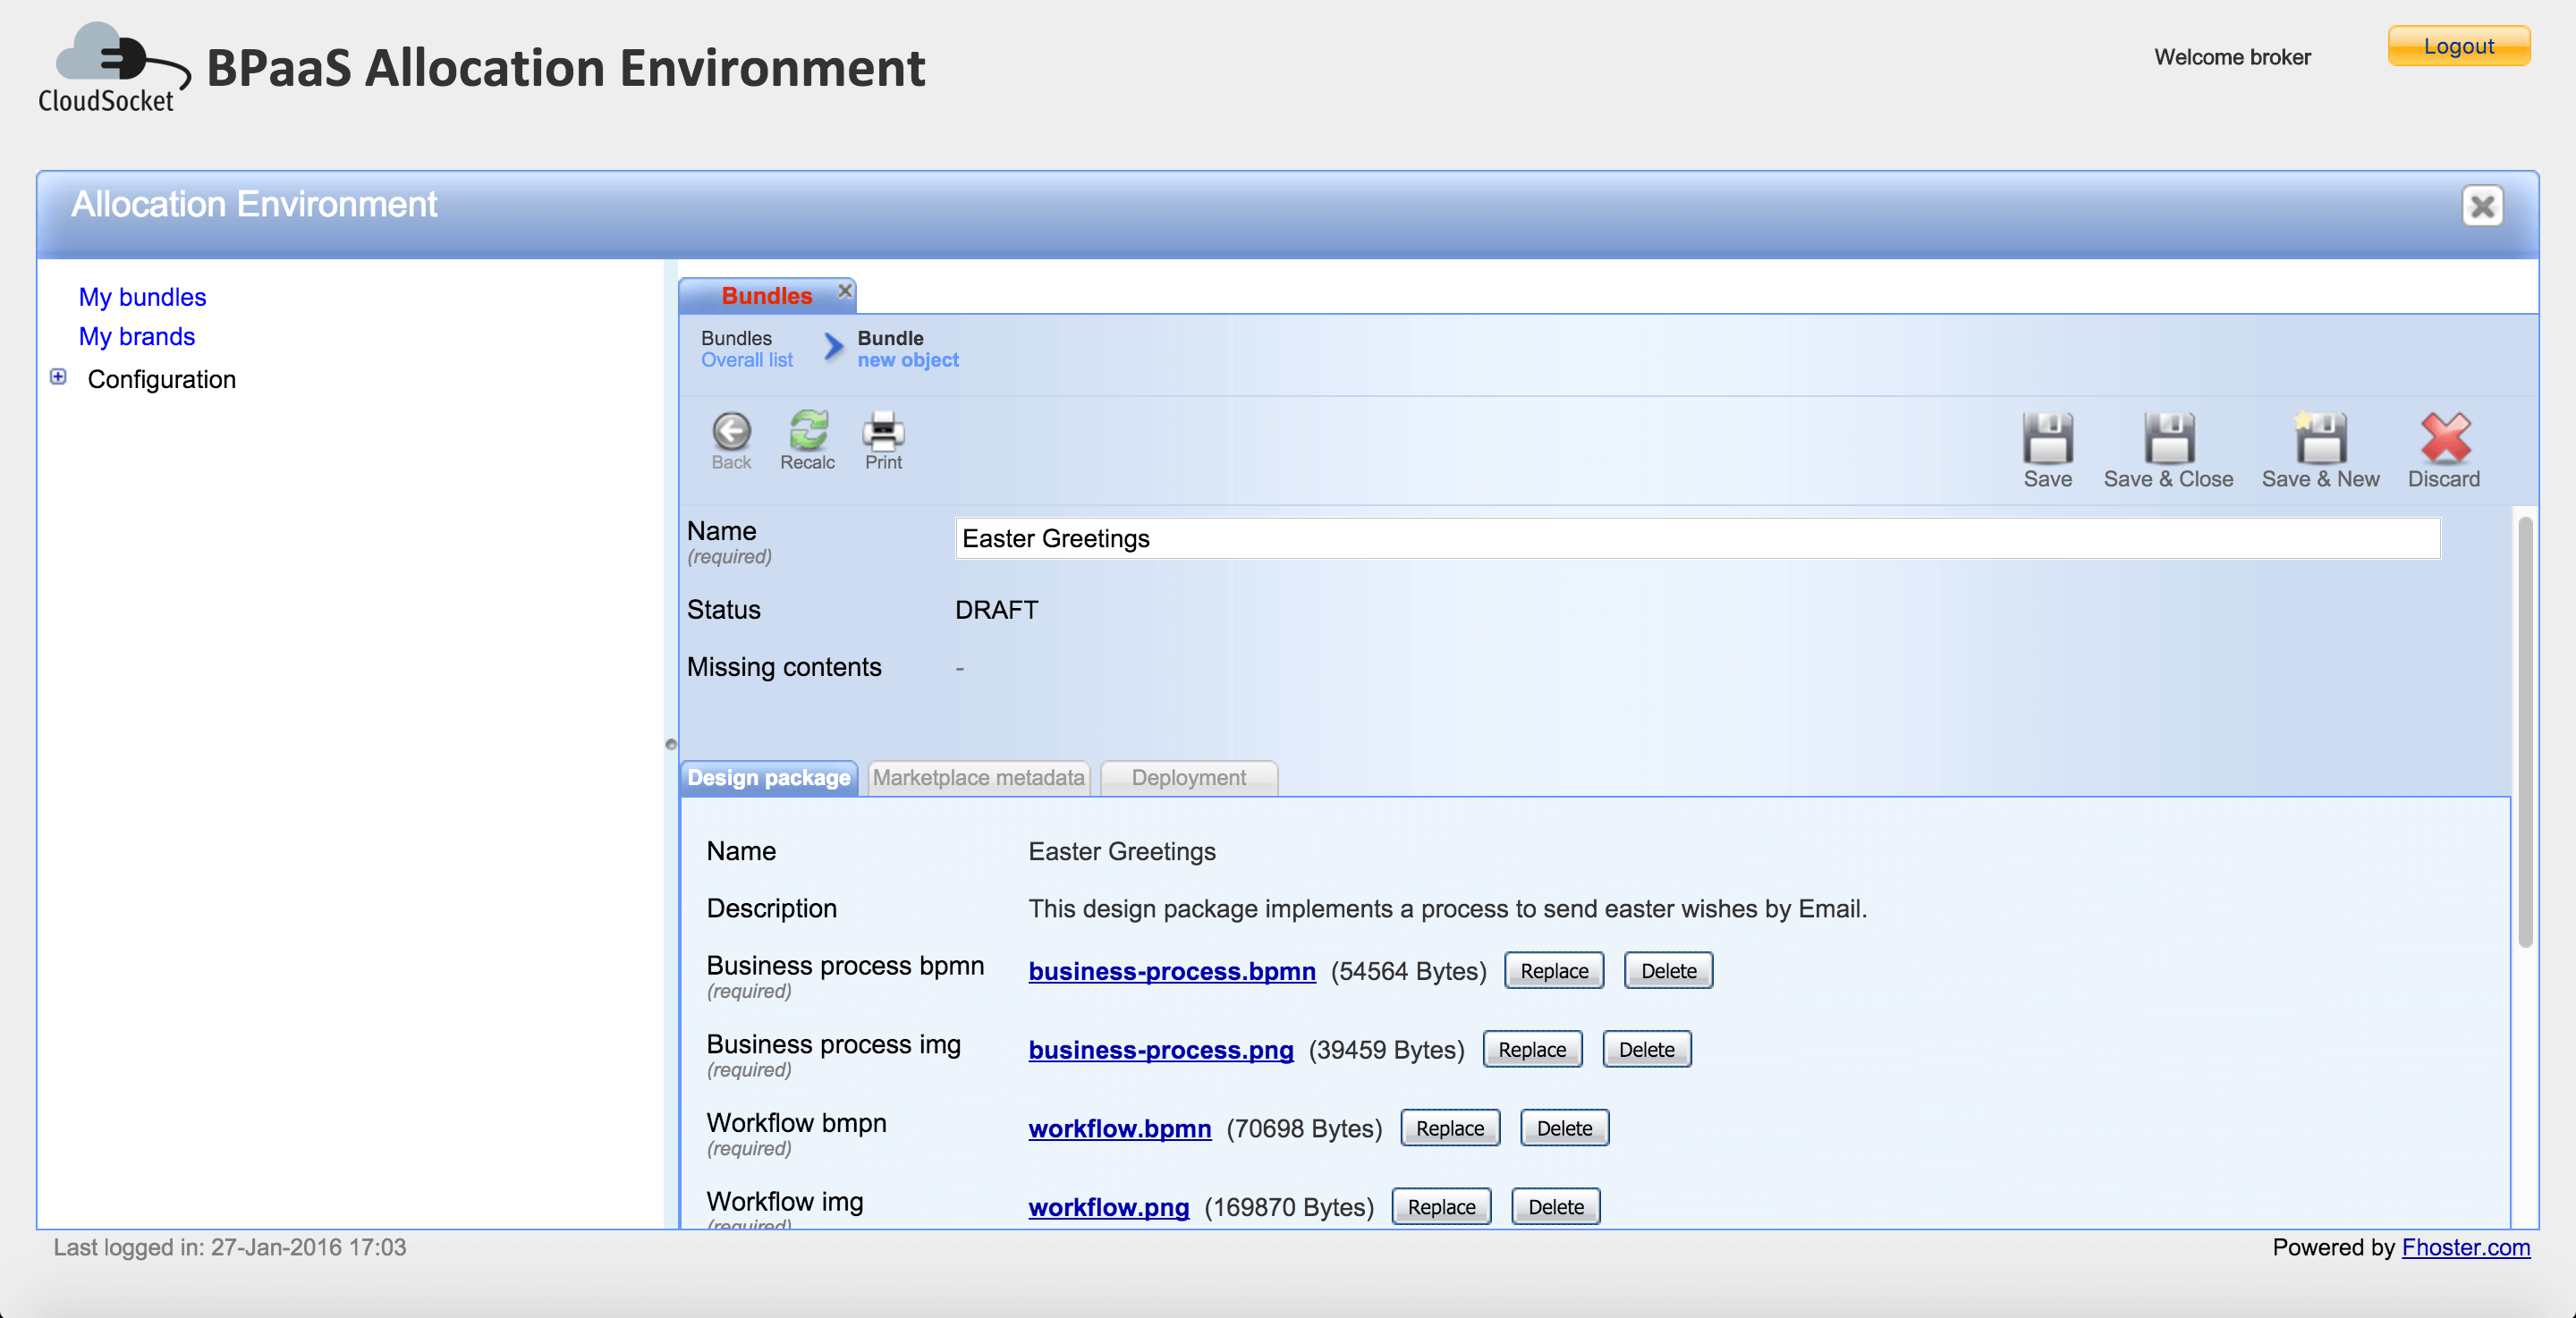
After the confirm, the files are imported into the new BPaaS Bundle and if there wasn't a name and description, this process populate them using the name and description of the Design Package.
07-confirmed-selection-design-package.png
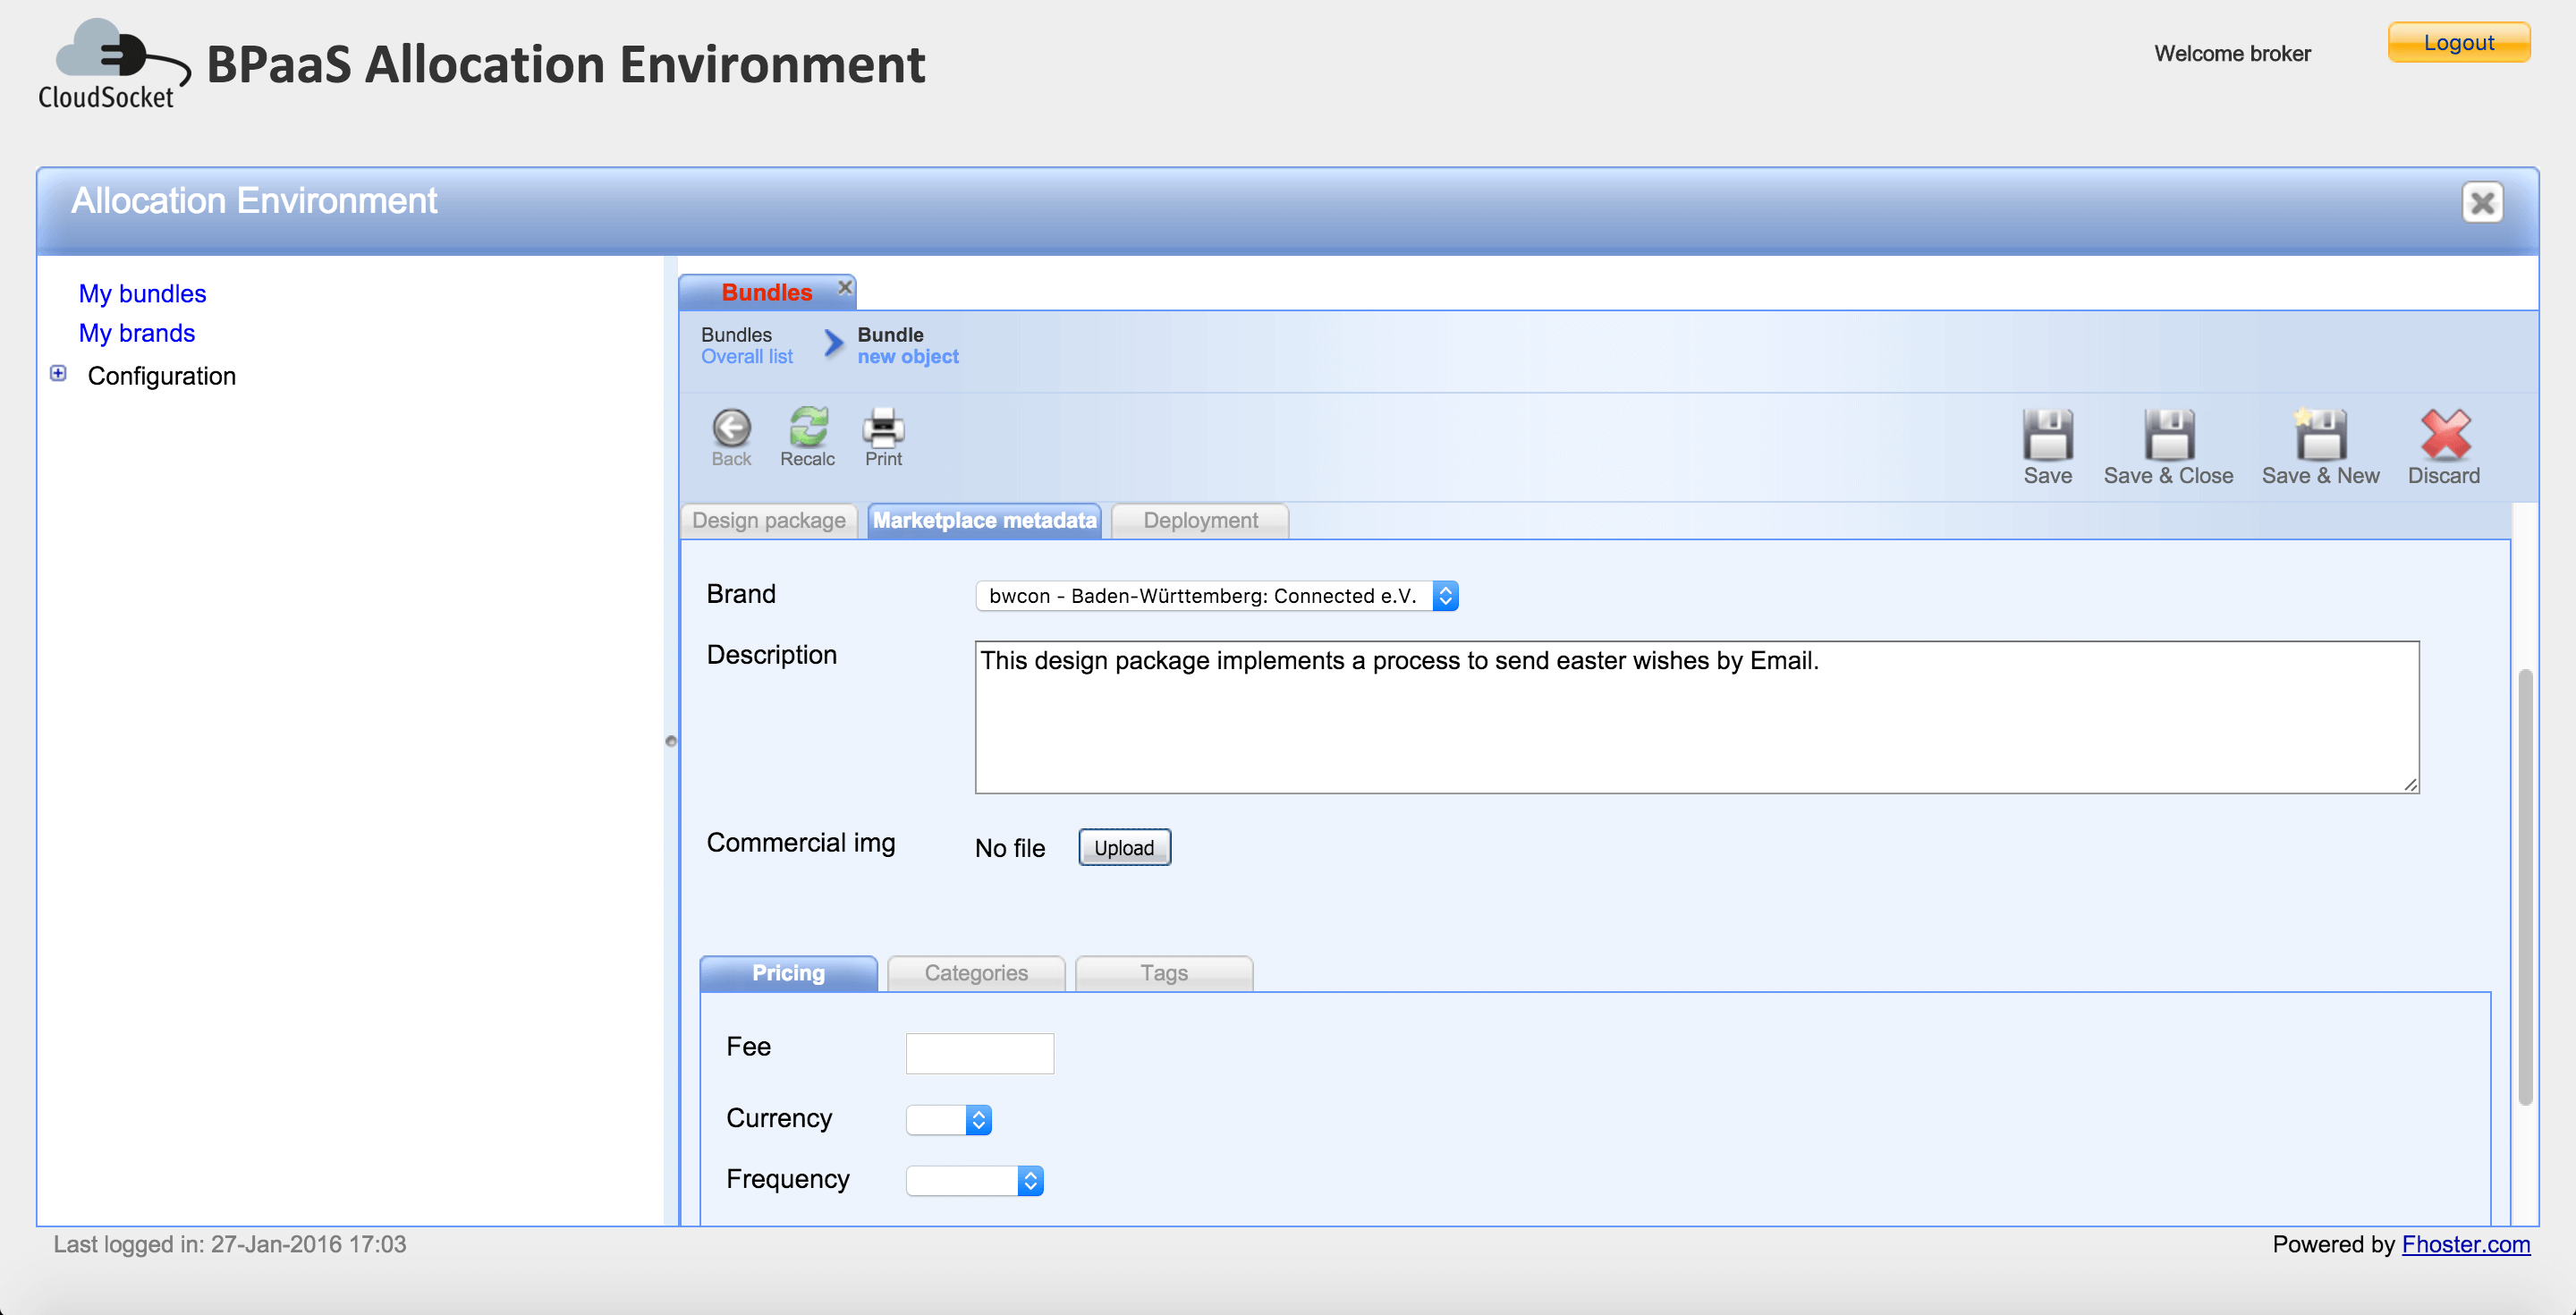
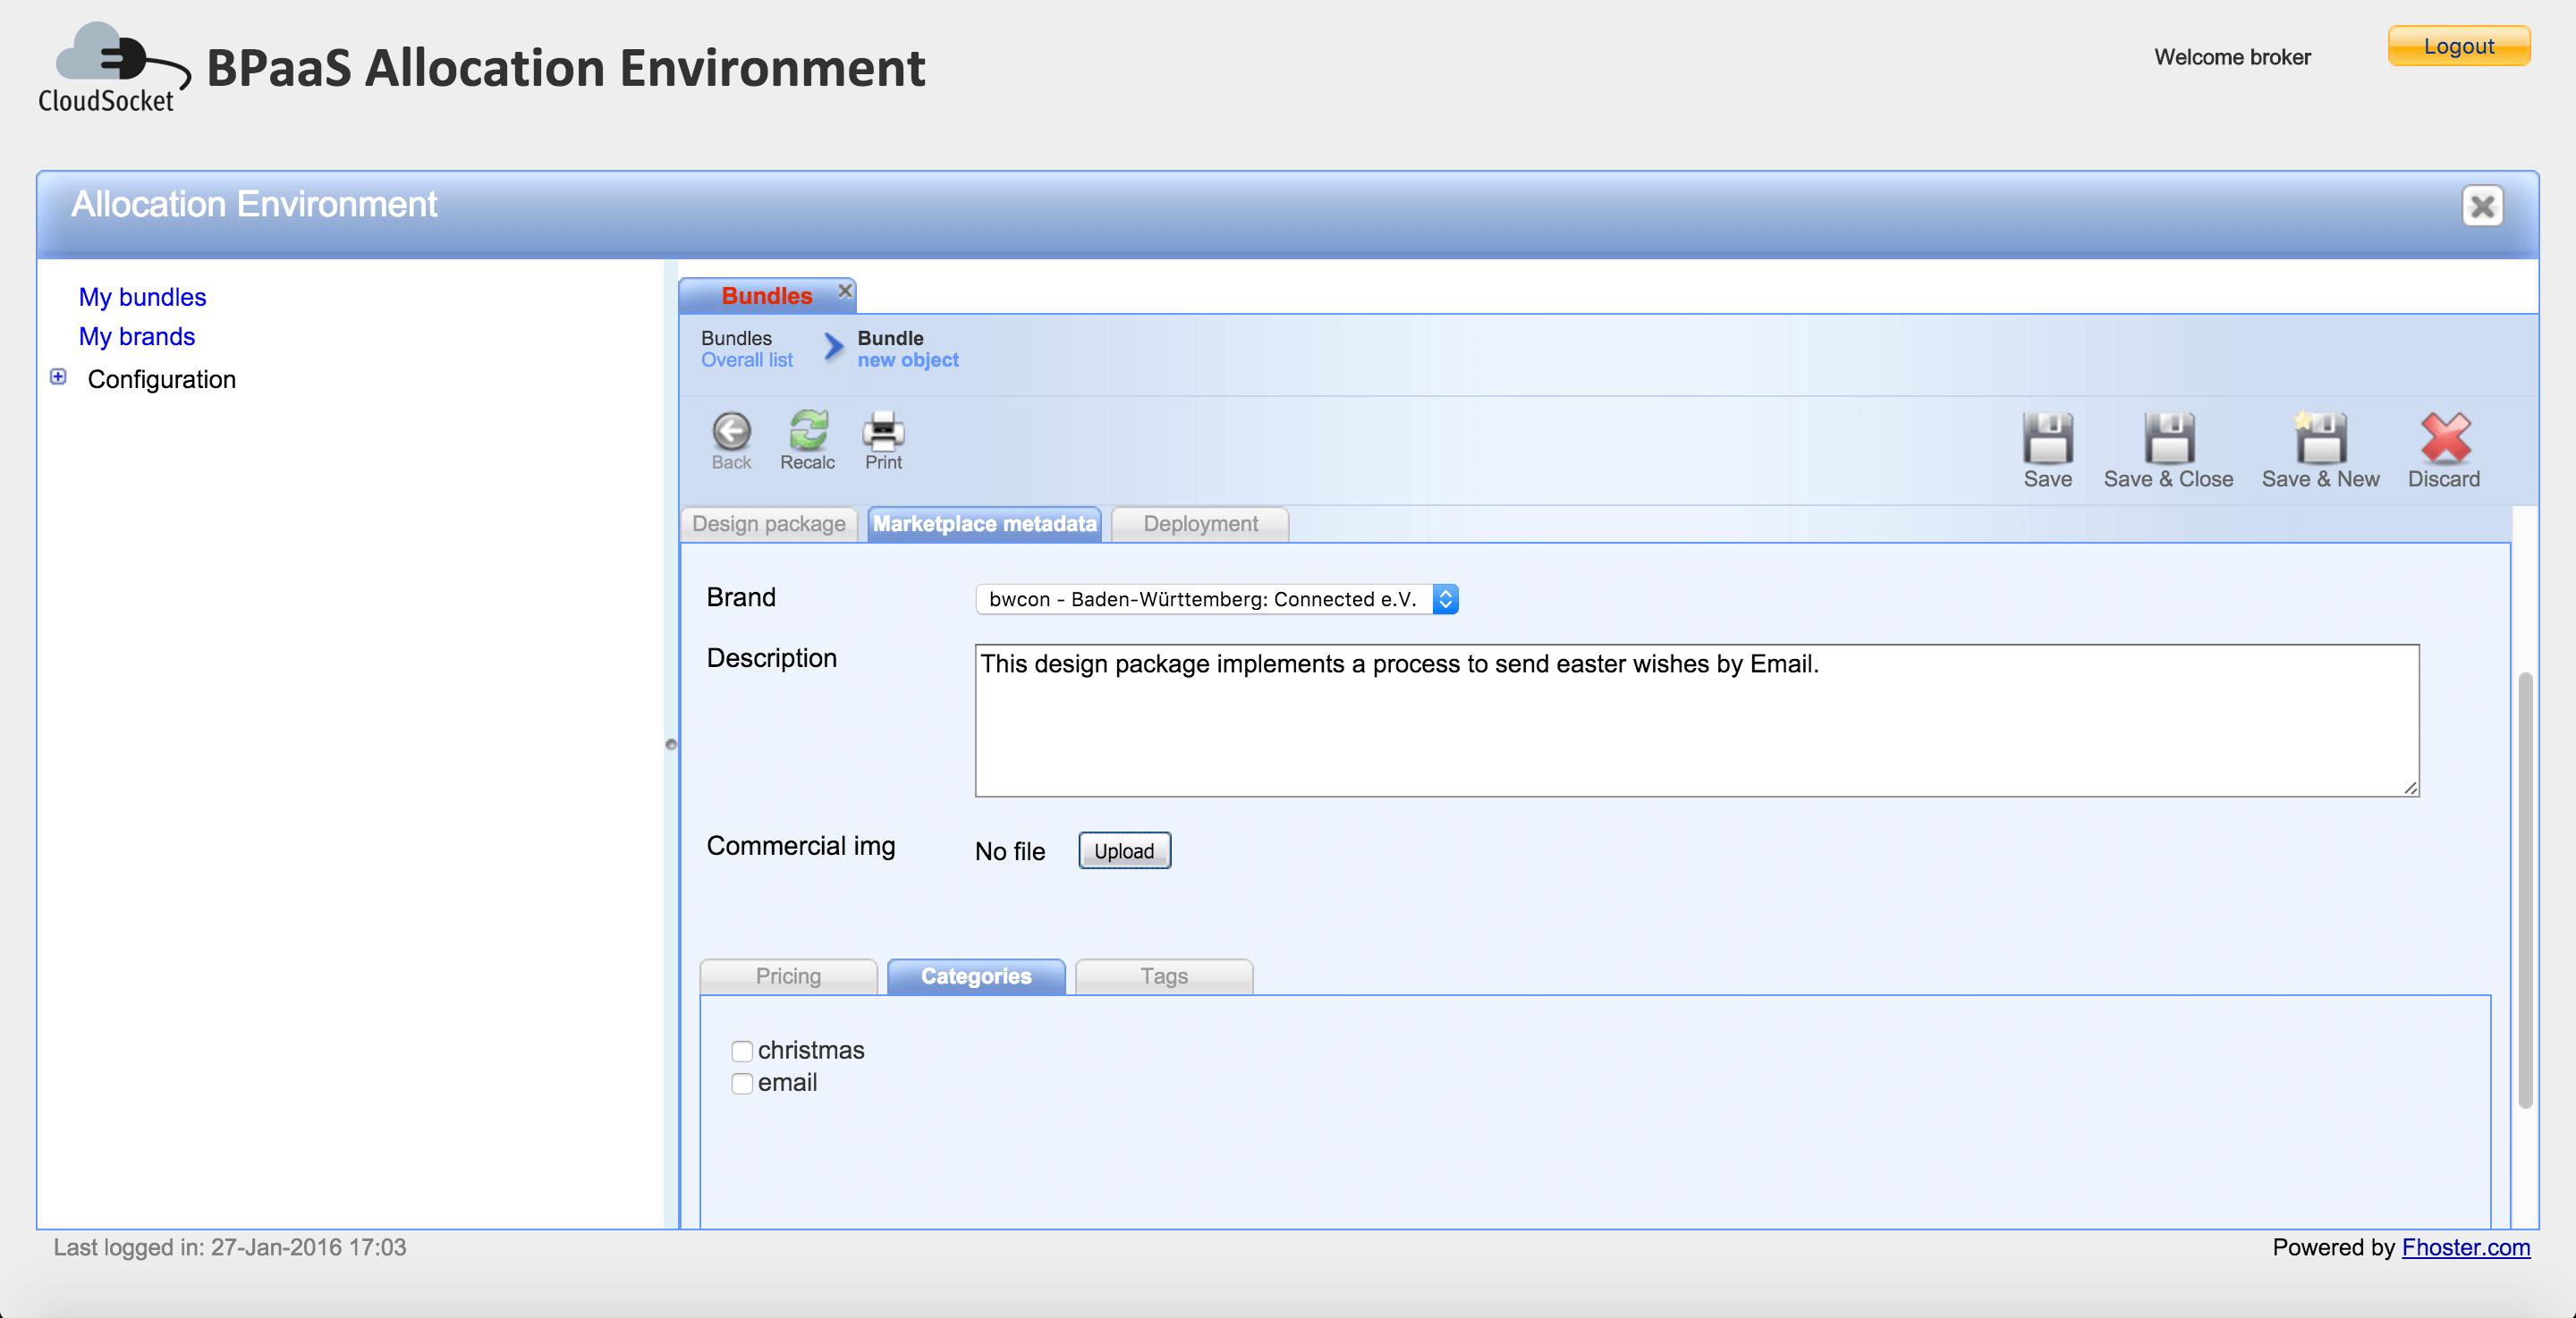
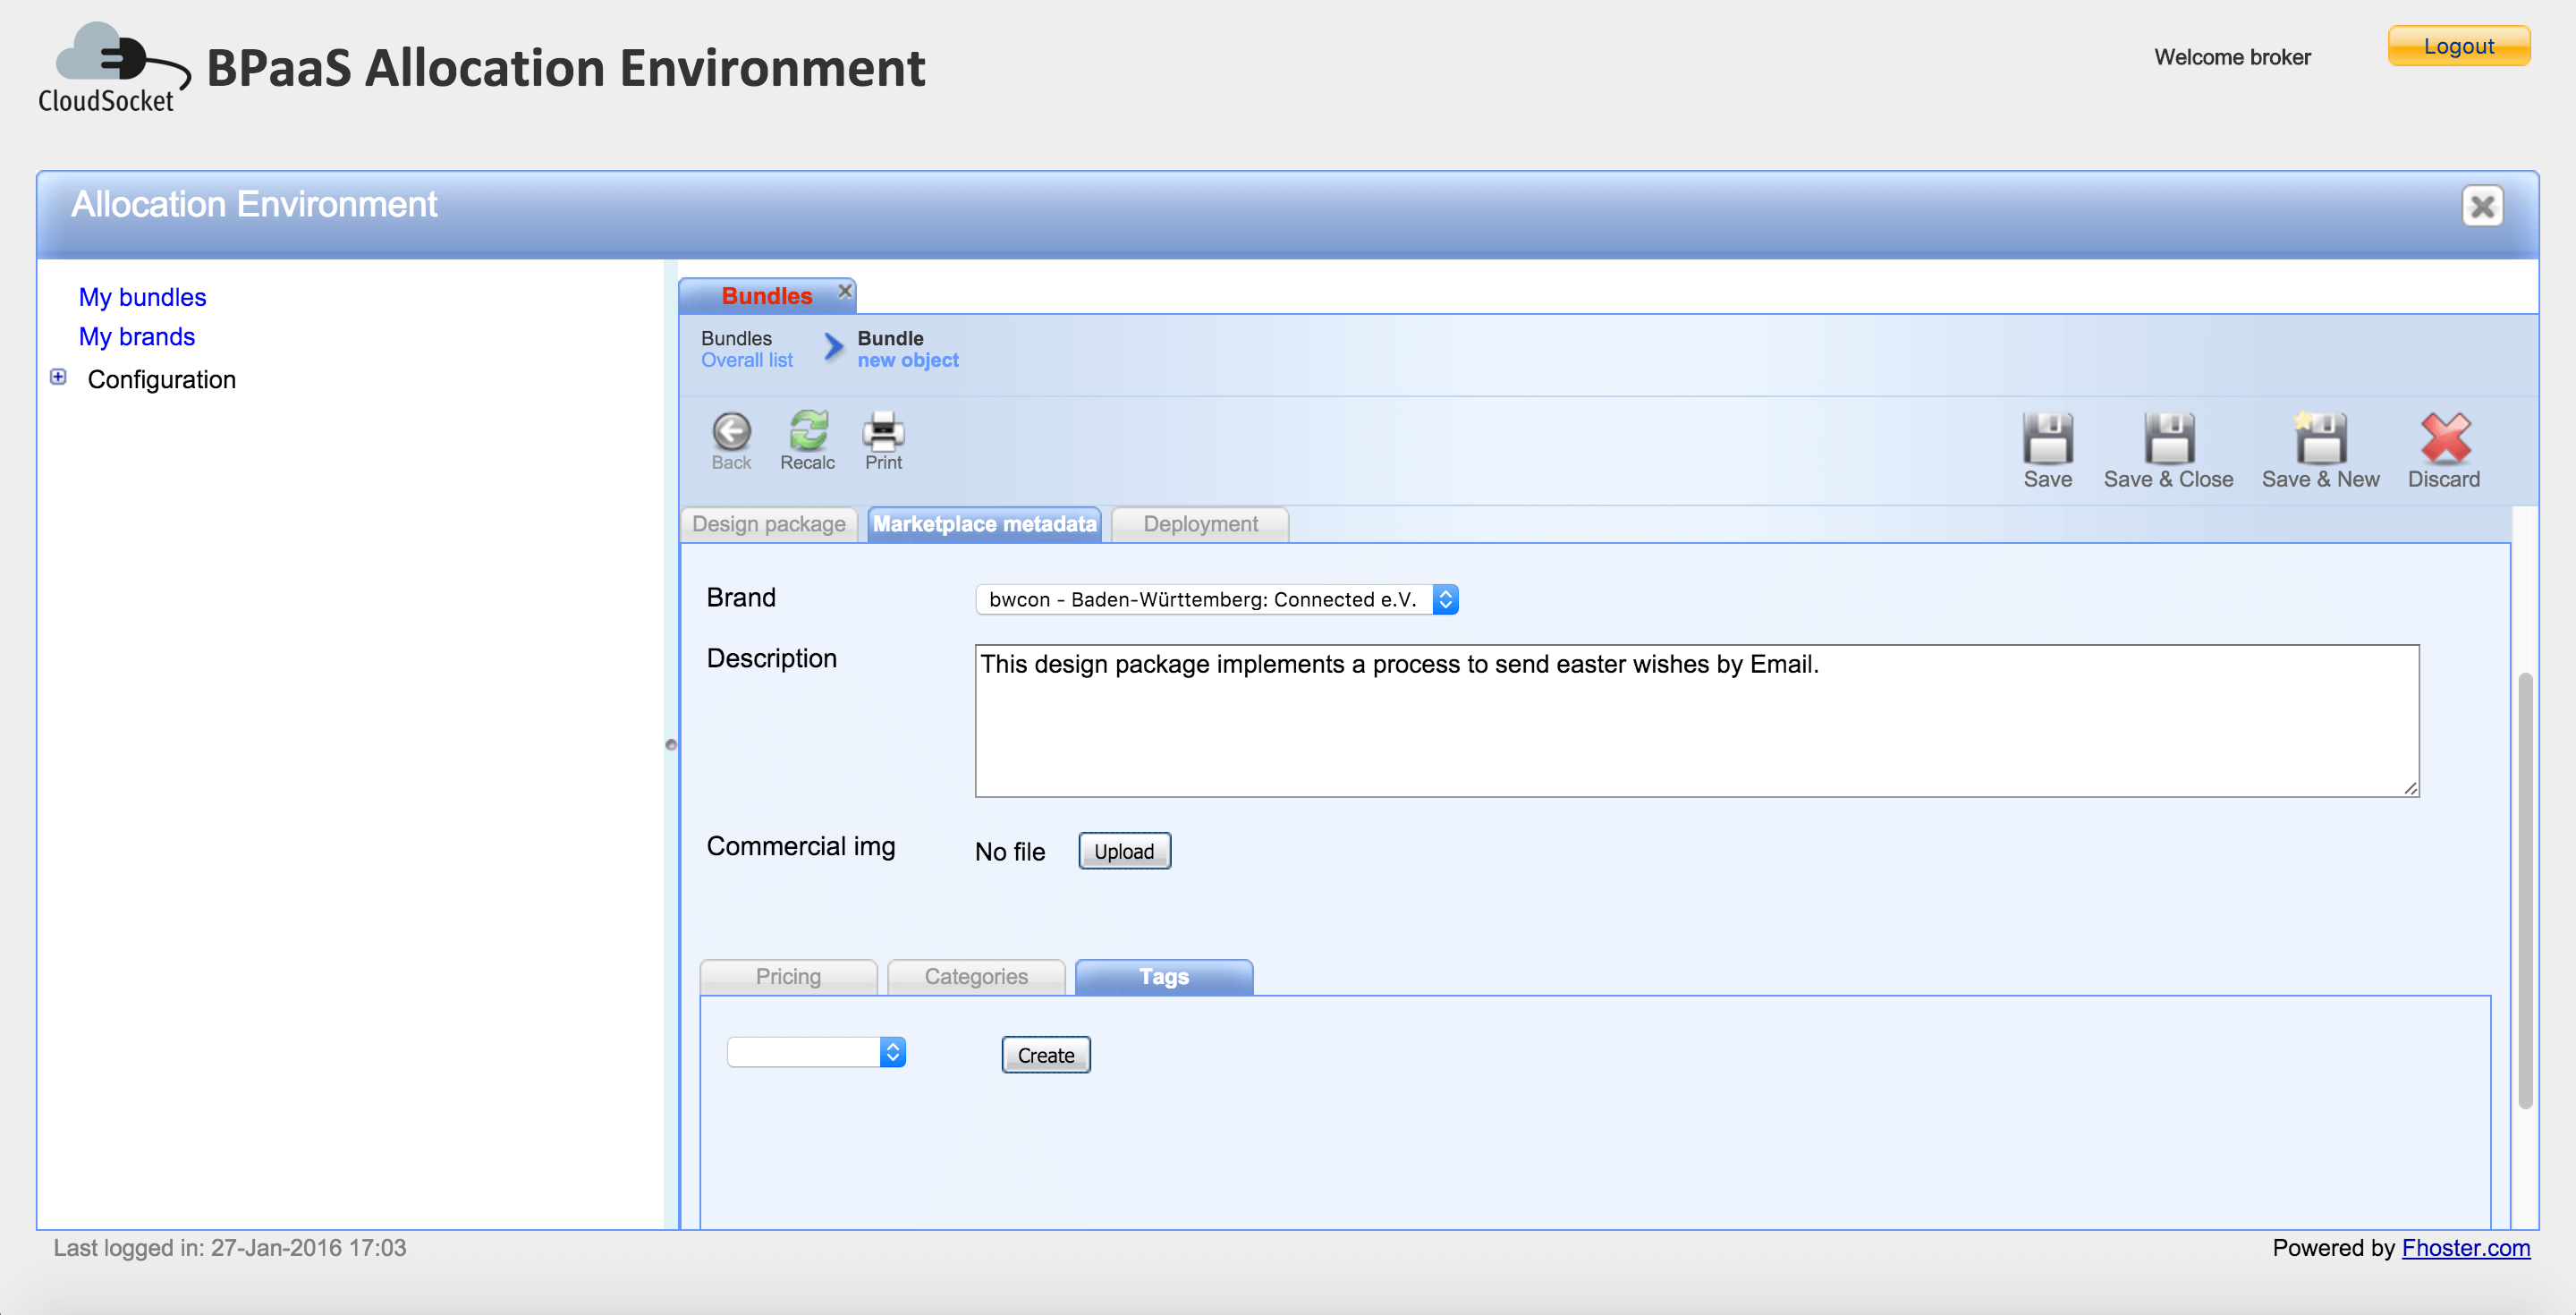
In the Marketplace metadata section the broker can specify:
- the brand: this is shown in the marketplace as the seller of the bundle
- the description: this is the commercial description that will shown into the marketplace
- the commercial image: this is the image shown into the marketplace
- pricing: composed by fee, currency and frequency
- categorization: preselected categories are proposed following the APCQ process categorization
- tags: the broker can create new tags or select tags already registered into the environment
08-marketplace-metadata-section-pricing.png 08-marketplace-metadata-section-categories.png 08-marketplace-metadata-section-tags.png
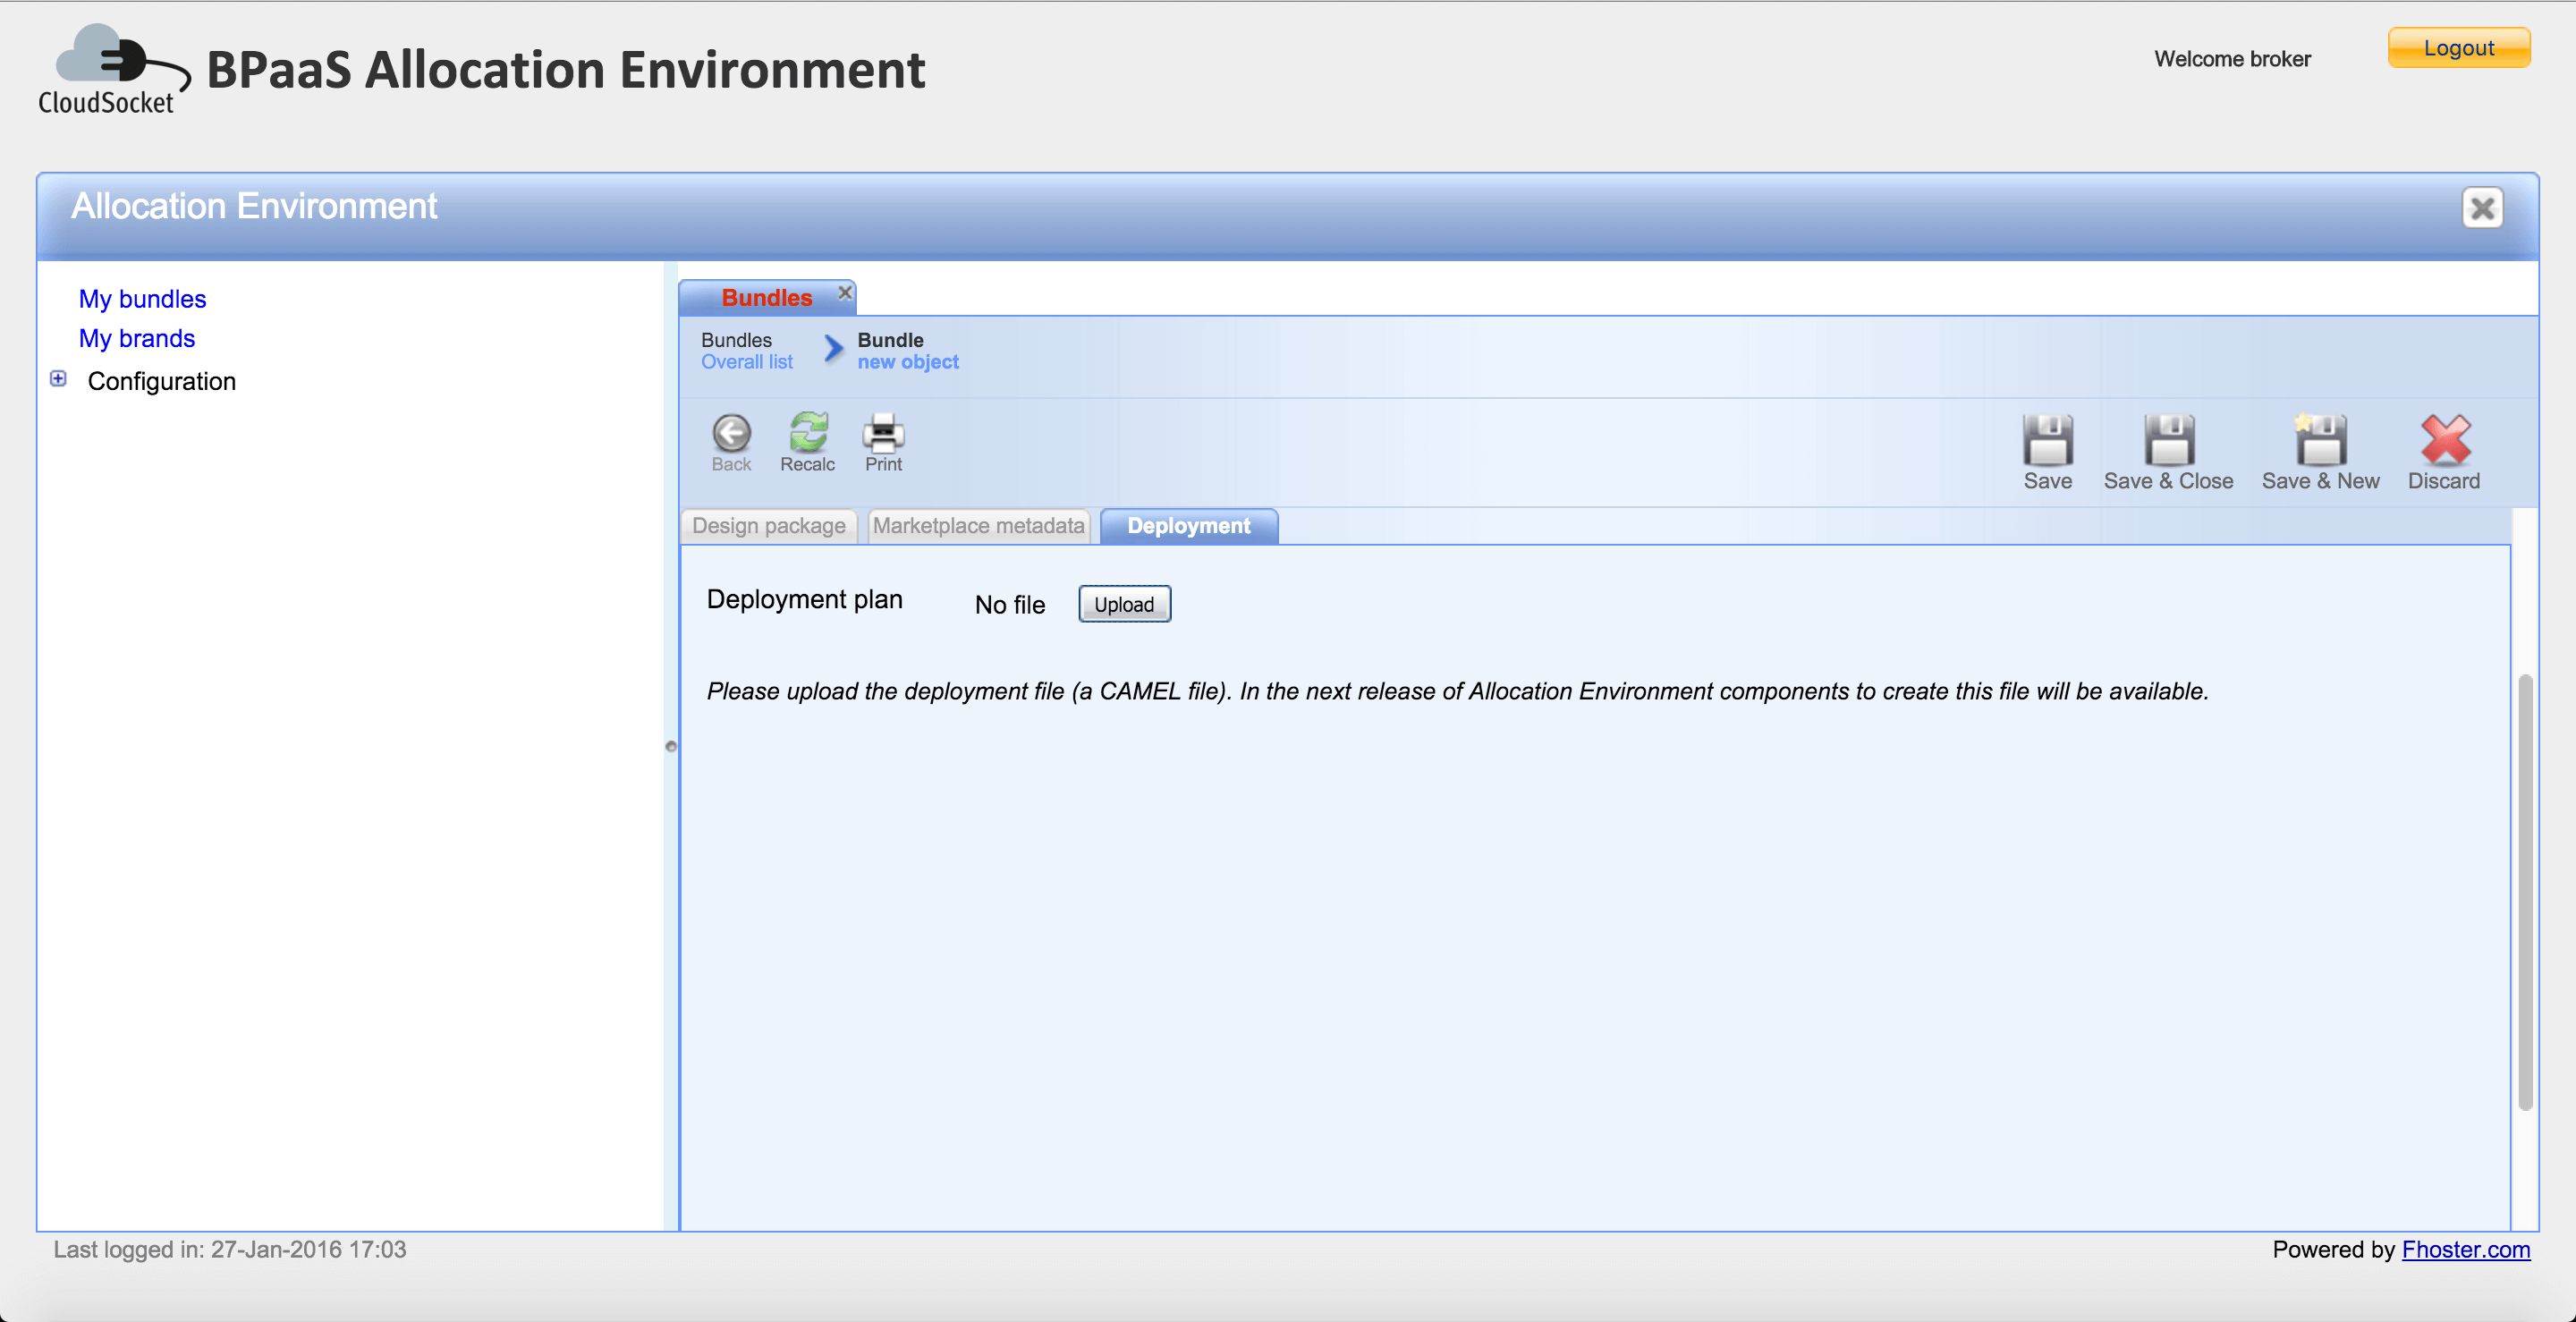
In the deployment section the broker can configure all the aspects related to the allocation of Software Component and Atomic Services. For now, this configuration is provided uploading a CAMEL file, in the next future the Allocation Environment will provide a component to configure all this aspects. 09-deployment-section.png
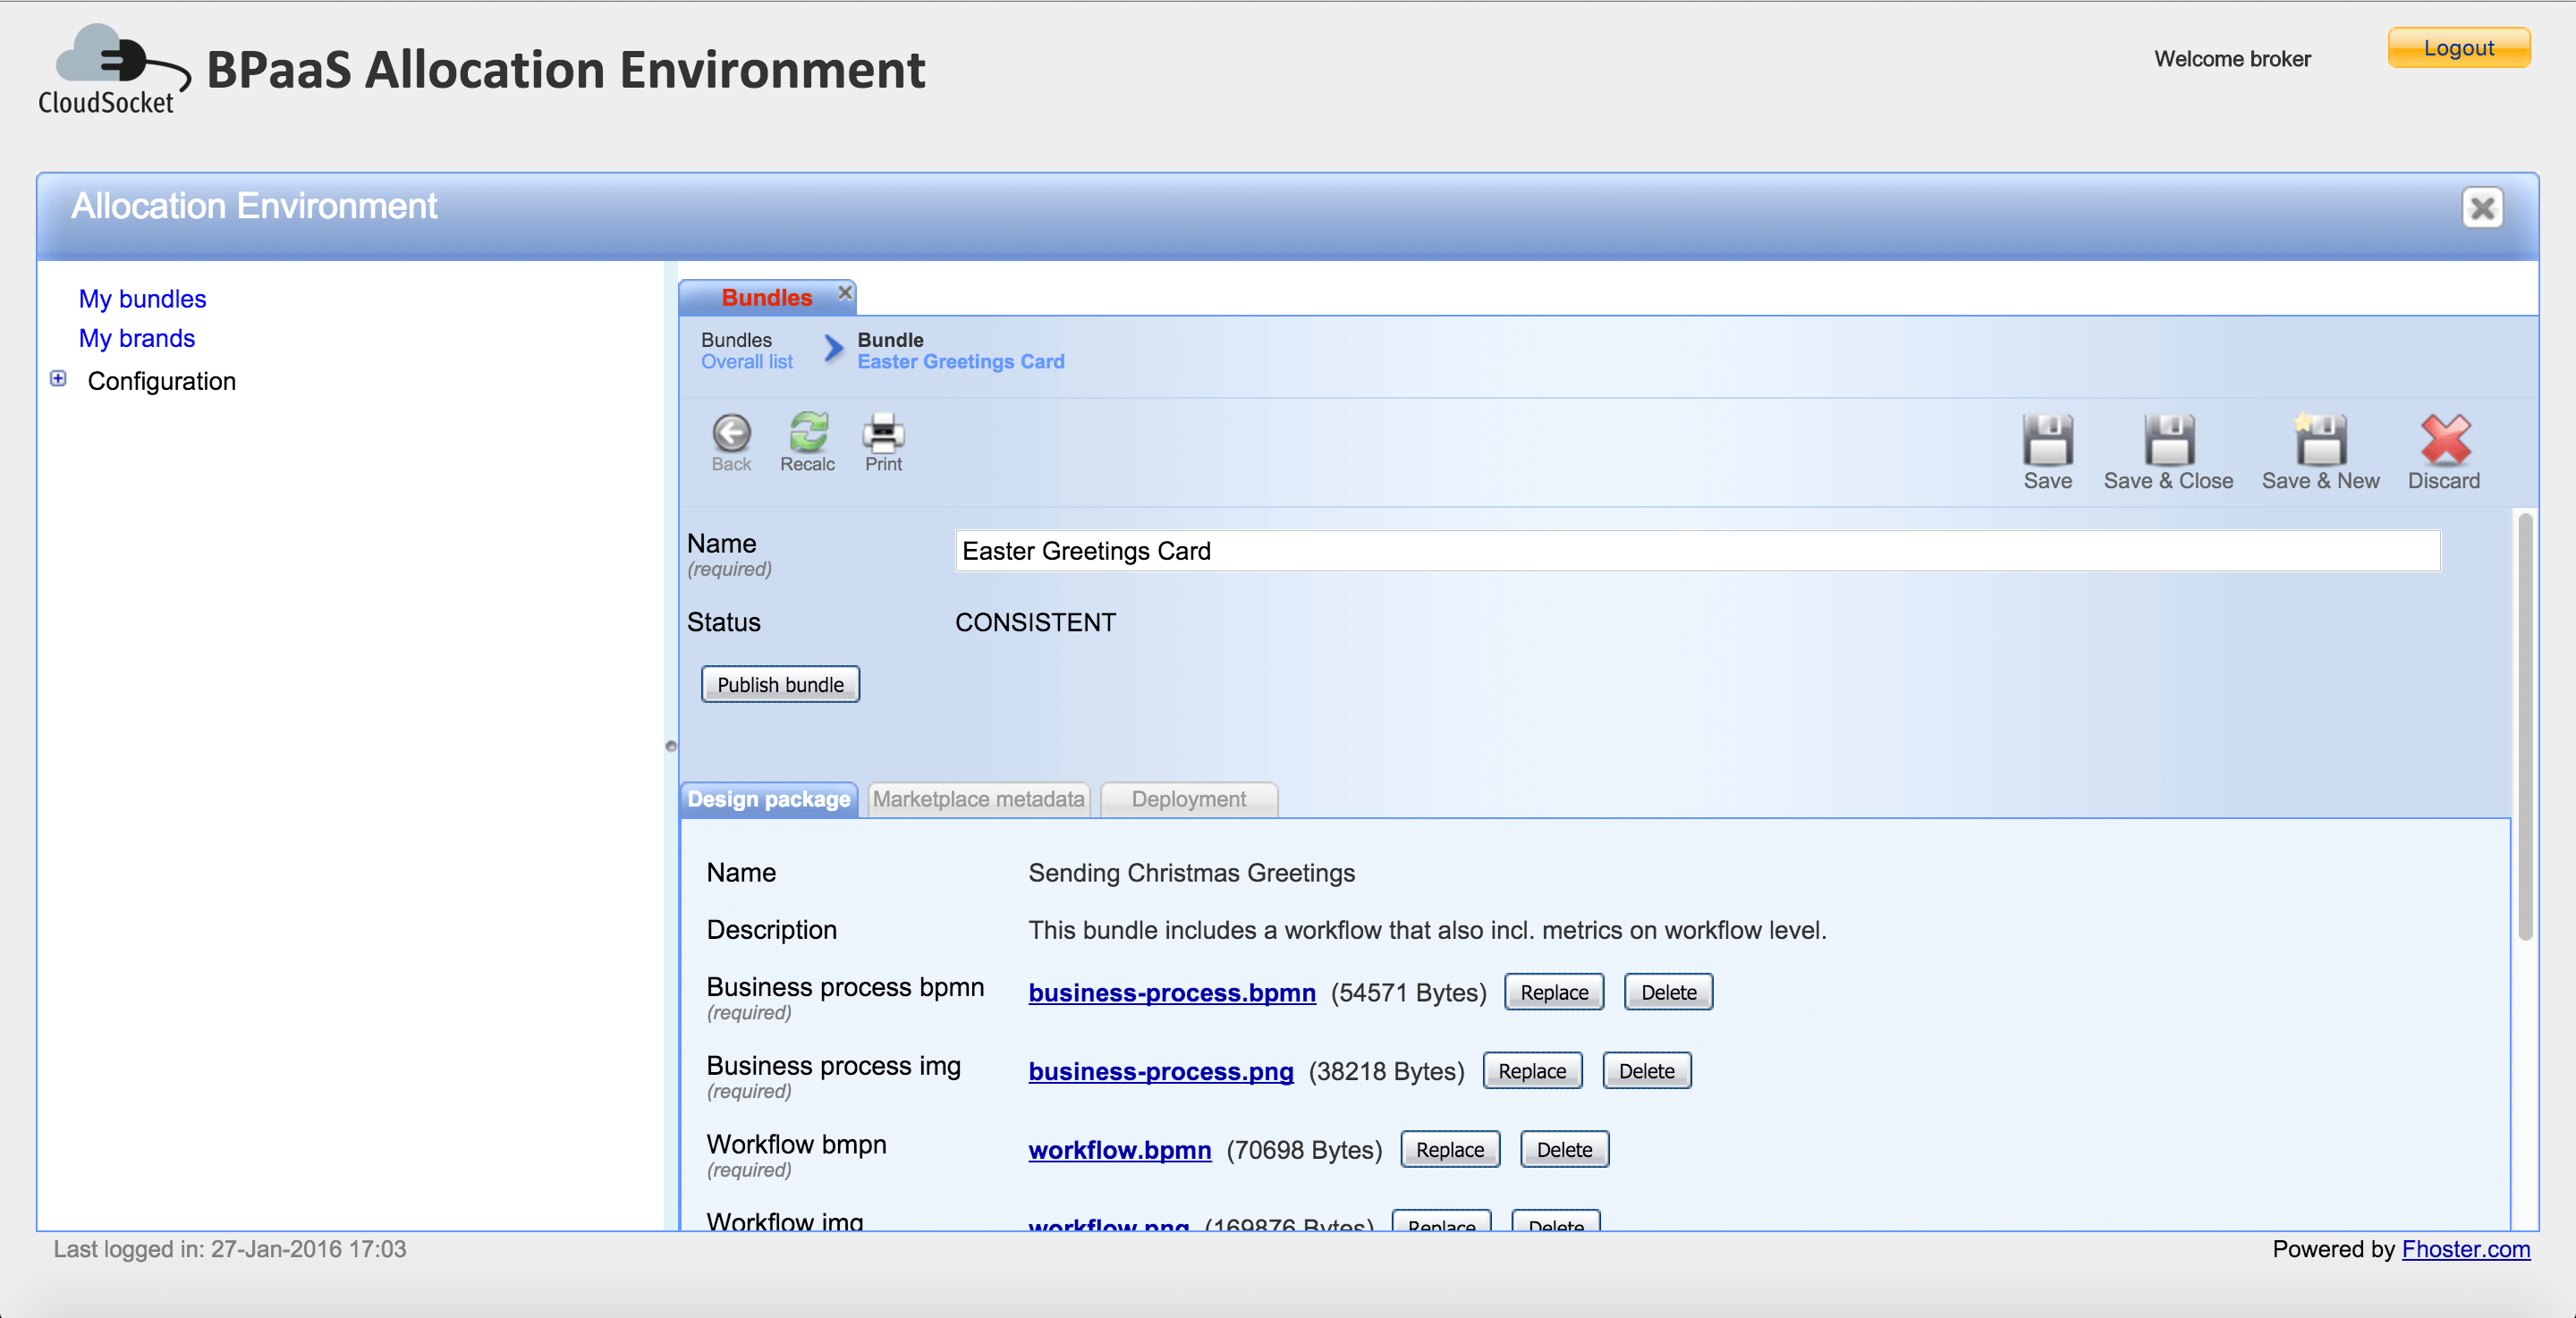
After configuring and saving all the required sections, the state of the bundle change from DRAFT to CONSISTENT. In the CONSISTENT state, the broker can decide to publish the bundle into the Marketplace.
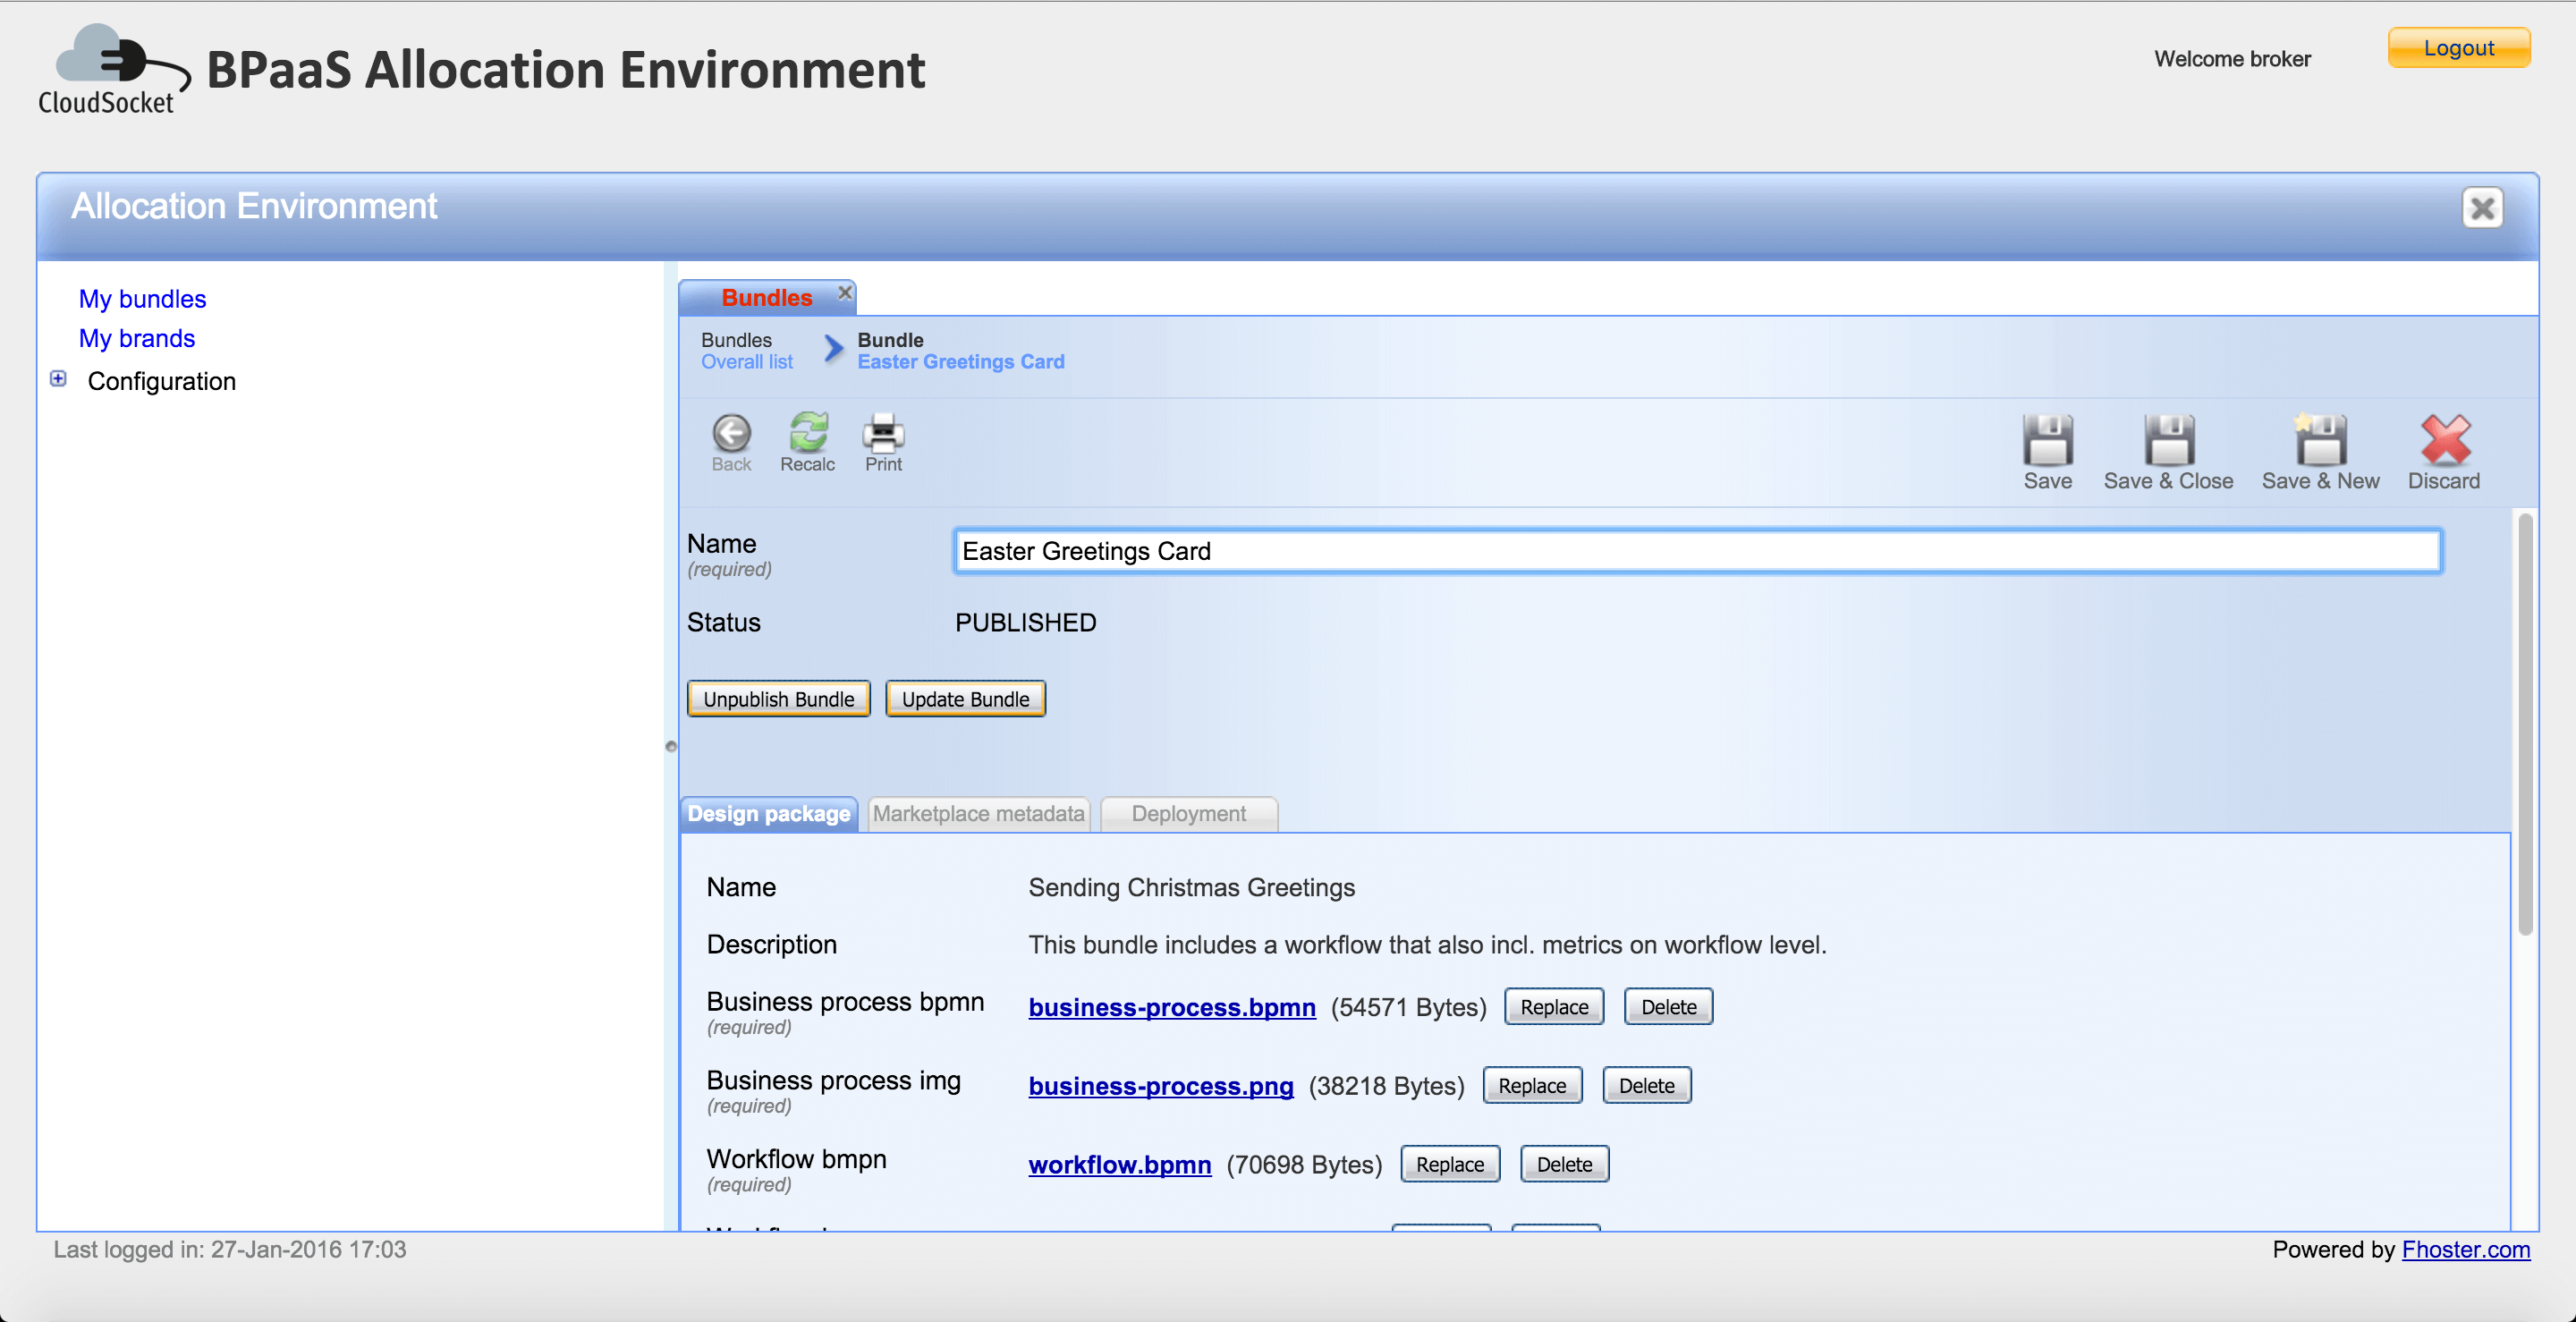
After the publication of the bundle, the state change into PUBLISHED. The broker could decide to update or unpublish the bundle from the marketplace.
Funding Partners

Horizon 2020